Photographer Shooting Guide
Last updated: 01/01/2025.
If you are a photographer for John Kelly Photos, please familiarize yourself with this guide. All photographers are expected to be familiar with this guide and abide by its rules unless otherwise noted in order to provide our clients consistently with the best possible services.
Photographer required camera settings and procedures
Unless otherwise noted, all photographers are required to adhere to the assigned camera settings during an event. The settings can be found on our checklist.
Additionally, photographers must at each event:
- Format every memory card you are issued, prior to the event starting, regardless of if you plan to use that card or not. We do this because some cards may be damaged or not compatible with your camera, and we need to identify those cards prior to the event starting. Additionally, we do not want photographers formatting cards if they need a new one once they have begun taking pictures during the event to avoid accidentally formatting existing images. Finally, our post-processing team will likely become confused if they get a memory card with images from an old event on them, and that could lead to serious mix-ups.
- If provided, wear your issued credentials in a visible way at all times. There can be multiple photographers from other companies, freelancers, newspapers and friends of participants at an event, and it is important that our clients know which photographers are assigned to our company from other photographers at an event.
- Never impede an event participant. Participants may approach you and ask for photos, and that is fine to stop and pose them, but if a participant is racing or competing, you should not approach them in a way that might startle them, impede their travel, effect the results of a race, or anything else that could inconvenience them. Even if you can get a cooler photo jumping in front of them, we never want to effect the outcome of a race or risk injuring someone.
- Photographers should try to avoid shooting directly into the sun. This isn't always possible, but when possible avoid shooting into the sun. If your camera struggles with retaining dynamic range, or you are concerned about the quality of your shot, let us know, and we can switch you spots with someone who has experience shooting into harder light.
- If you are not comfortable with your assignment, please let us know. If you have any apprehensions about your assignment, please let us know. Ideally before the event, but during the event is okay to. Remember, we want to get the event participants and the client the best results possible. If we can improve your shooting situation then we are happy to look at all our options, so no need to force yourself to shoot in a difficult environment if there is an easier once available. Just make sure to check with your team leader before deviating from your assignment.
- ALWAYS shoot for Quality, not Quantity. We want to provide quality shots to our runners. If it's a dense race, and you miss 2/3 of the runners, that is fine. You focus on quality, let our team staff the event to worry about quantity. Remember, if you take 8,000 shots that are okay or sub par, our post-processing team will spend more time having to delete a large number of them, and the ones that do make the cut may not get downloaded in favor of better photographs from another photographer. That means you are creating more work for less output. On the contrary, if you shoot only 3,000 near perfect shots instead of 8,000 sporadic ones, almost all of them will make the final cut, and the download statistics will be significantly higher. That being said, try to maximize the number of photos you are getting, so long as it is not affecting your quality.
- Don't be late. Show up on time or ahead of time. You should not be parking your car when the team meeting is starting. If you are late and miss the team meeting, you may not receive required instructions, assignments and material in time for us to start the event. This may result in you being dismissed and unable to work with us that day.
- Don't force something that isn't working to work. If a shot location or assignment isn't working, do your best at the moment to maximize shots and consult your event team leader to make adjustments to your assignment.
Types of images
For your average running event, we have three standard styles of images we allow for each running event. If you are not assigned a type of shot, please try to take one of the following style shots throughout the day.
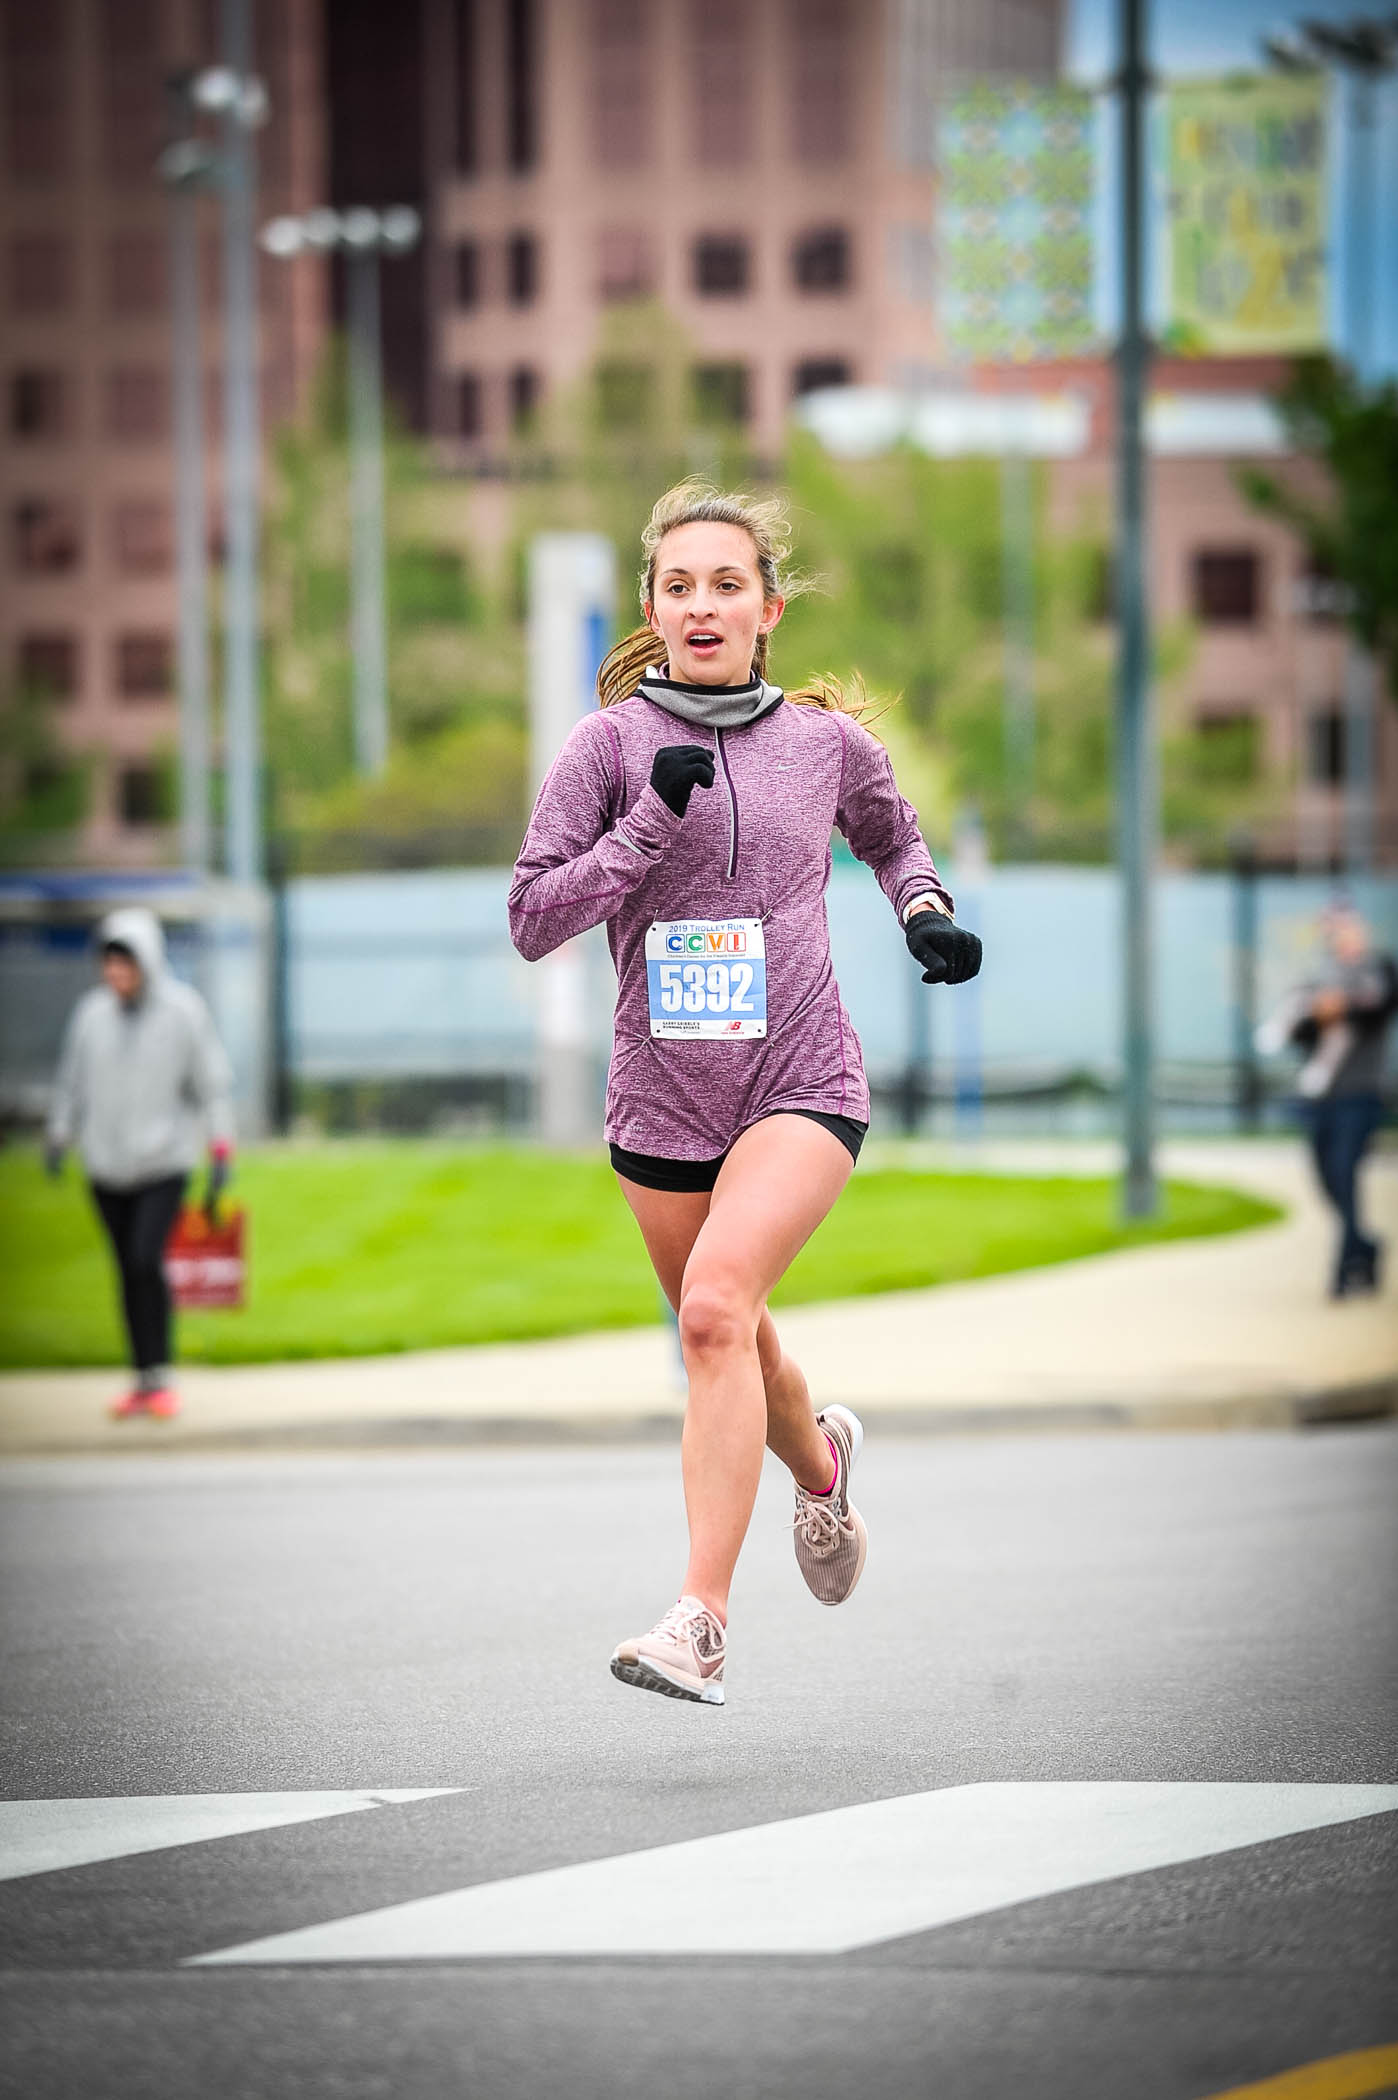
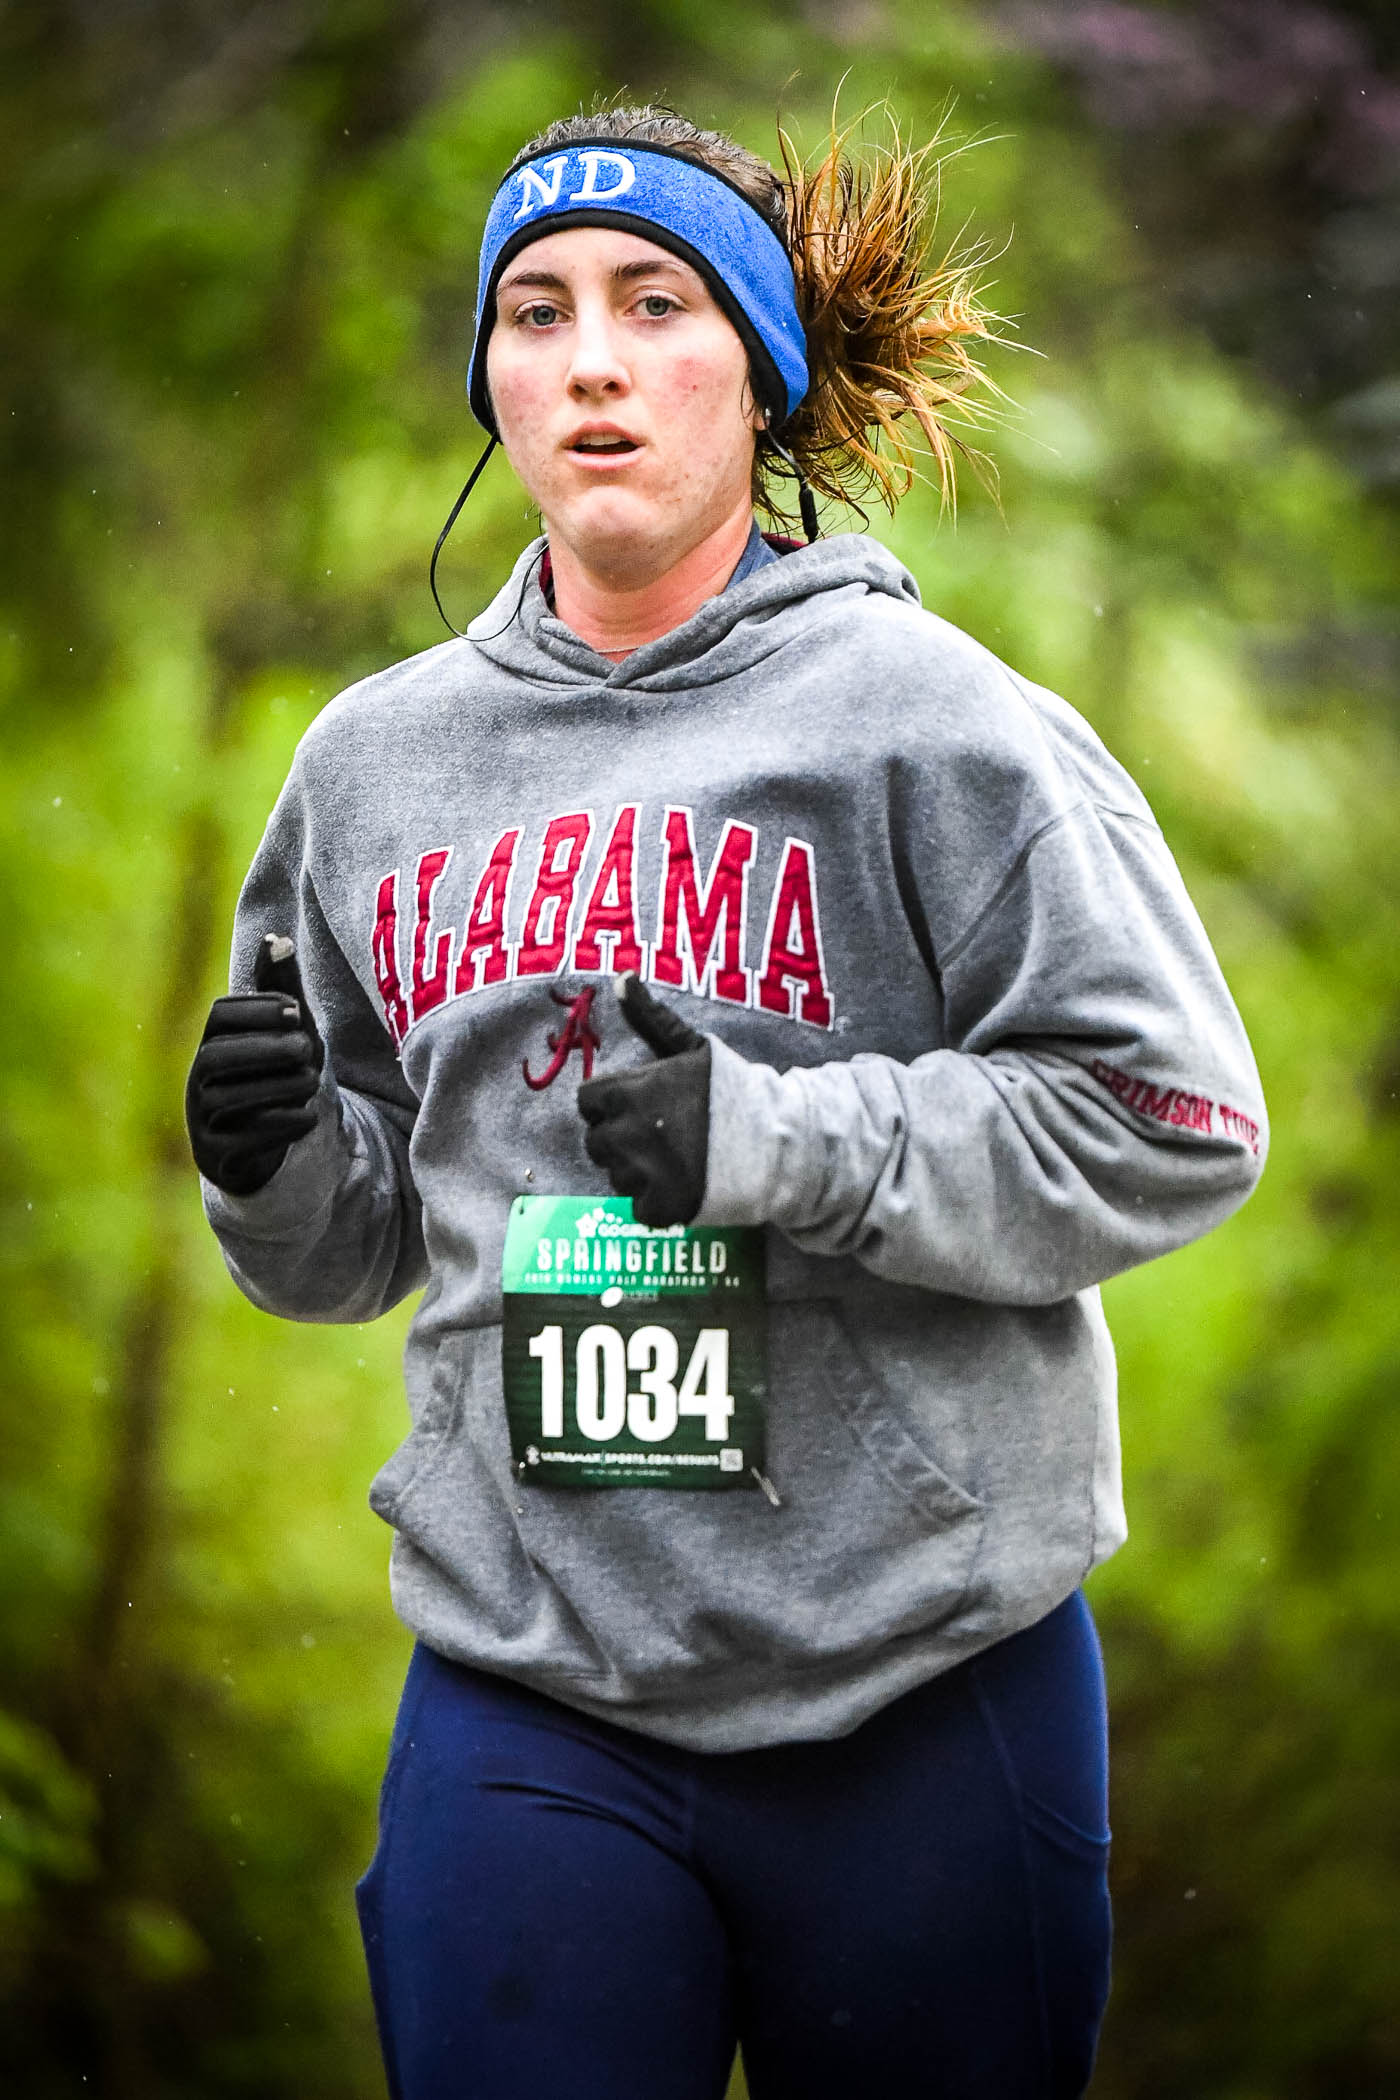
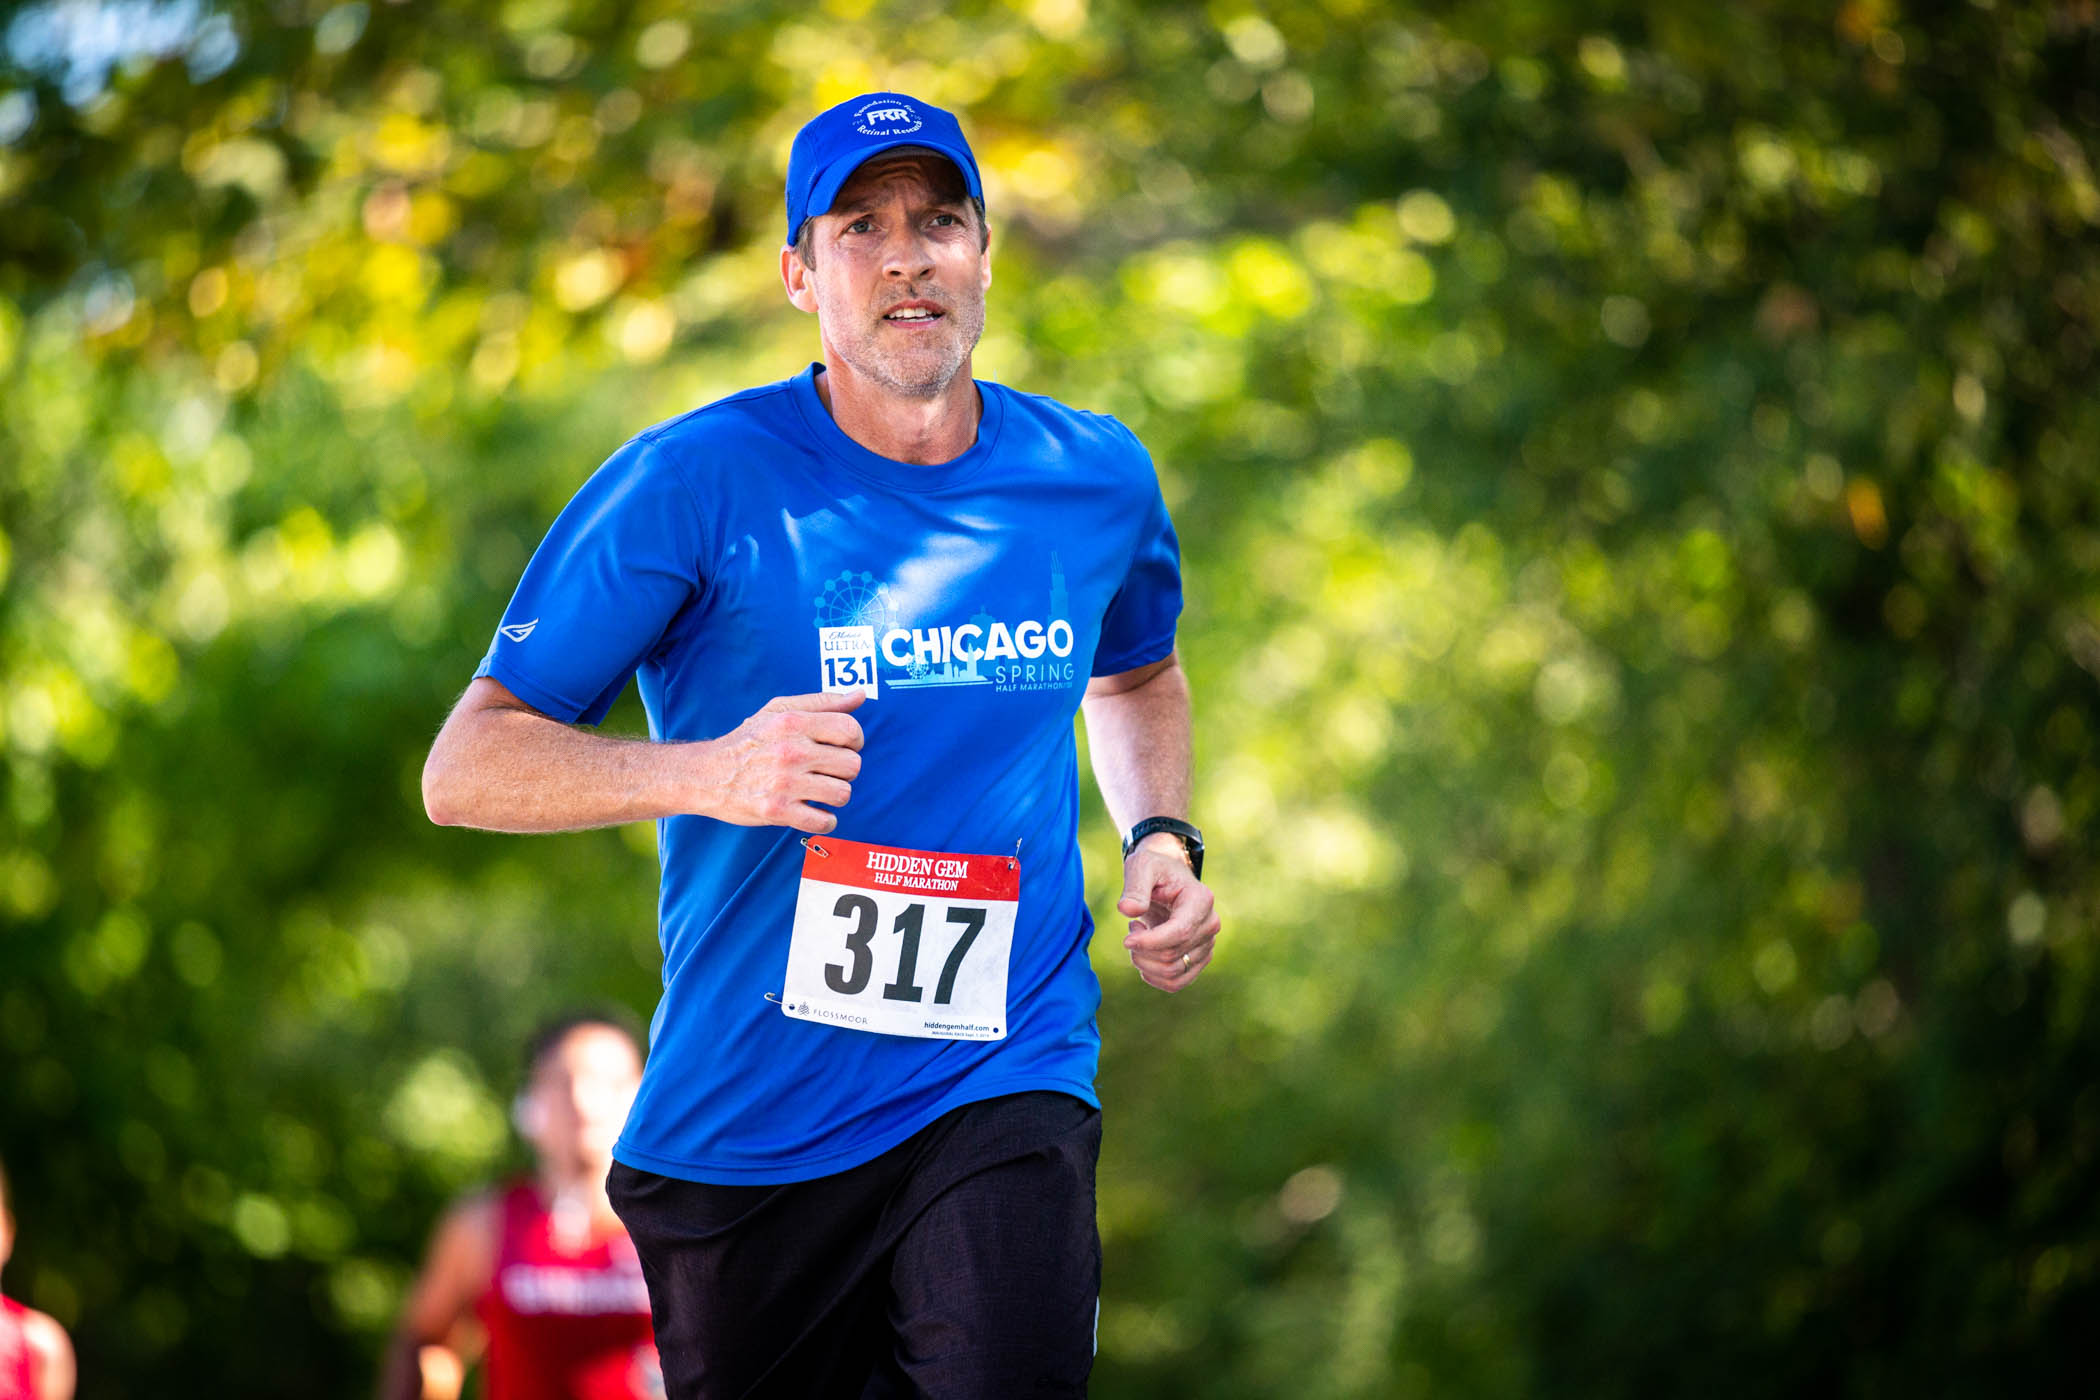
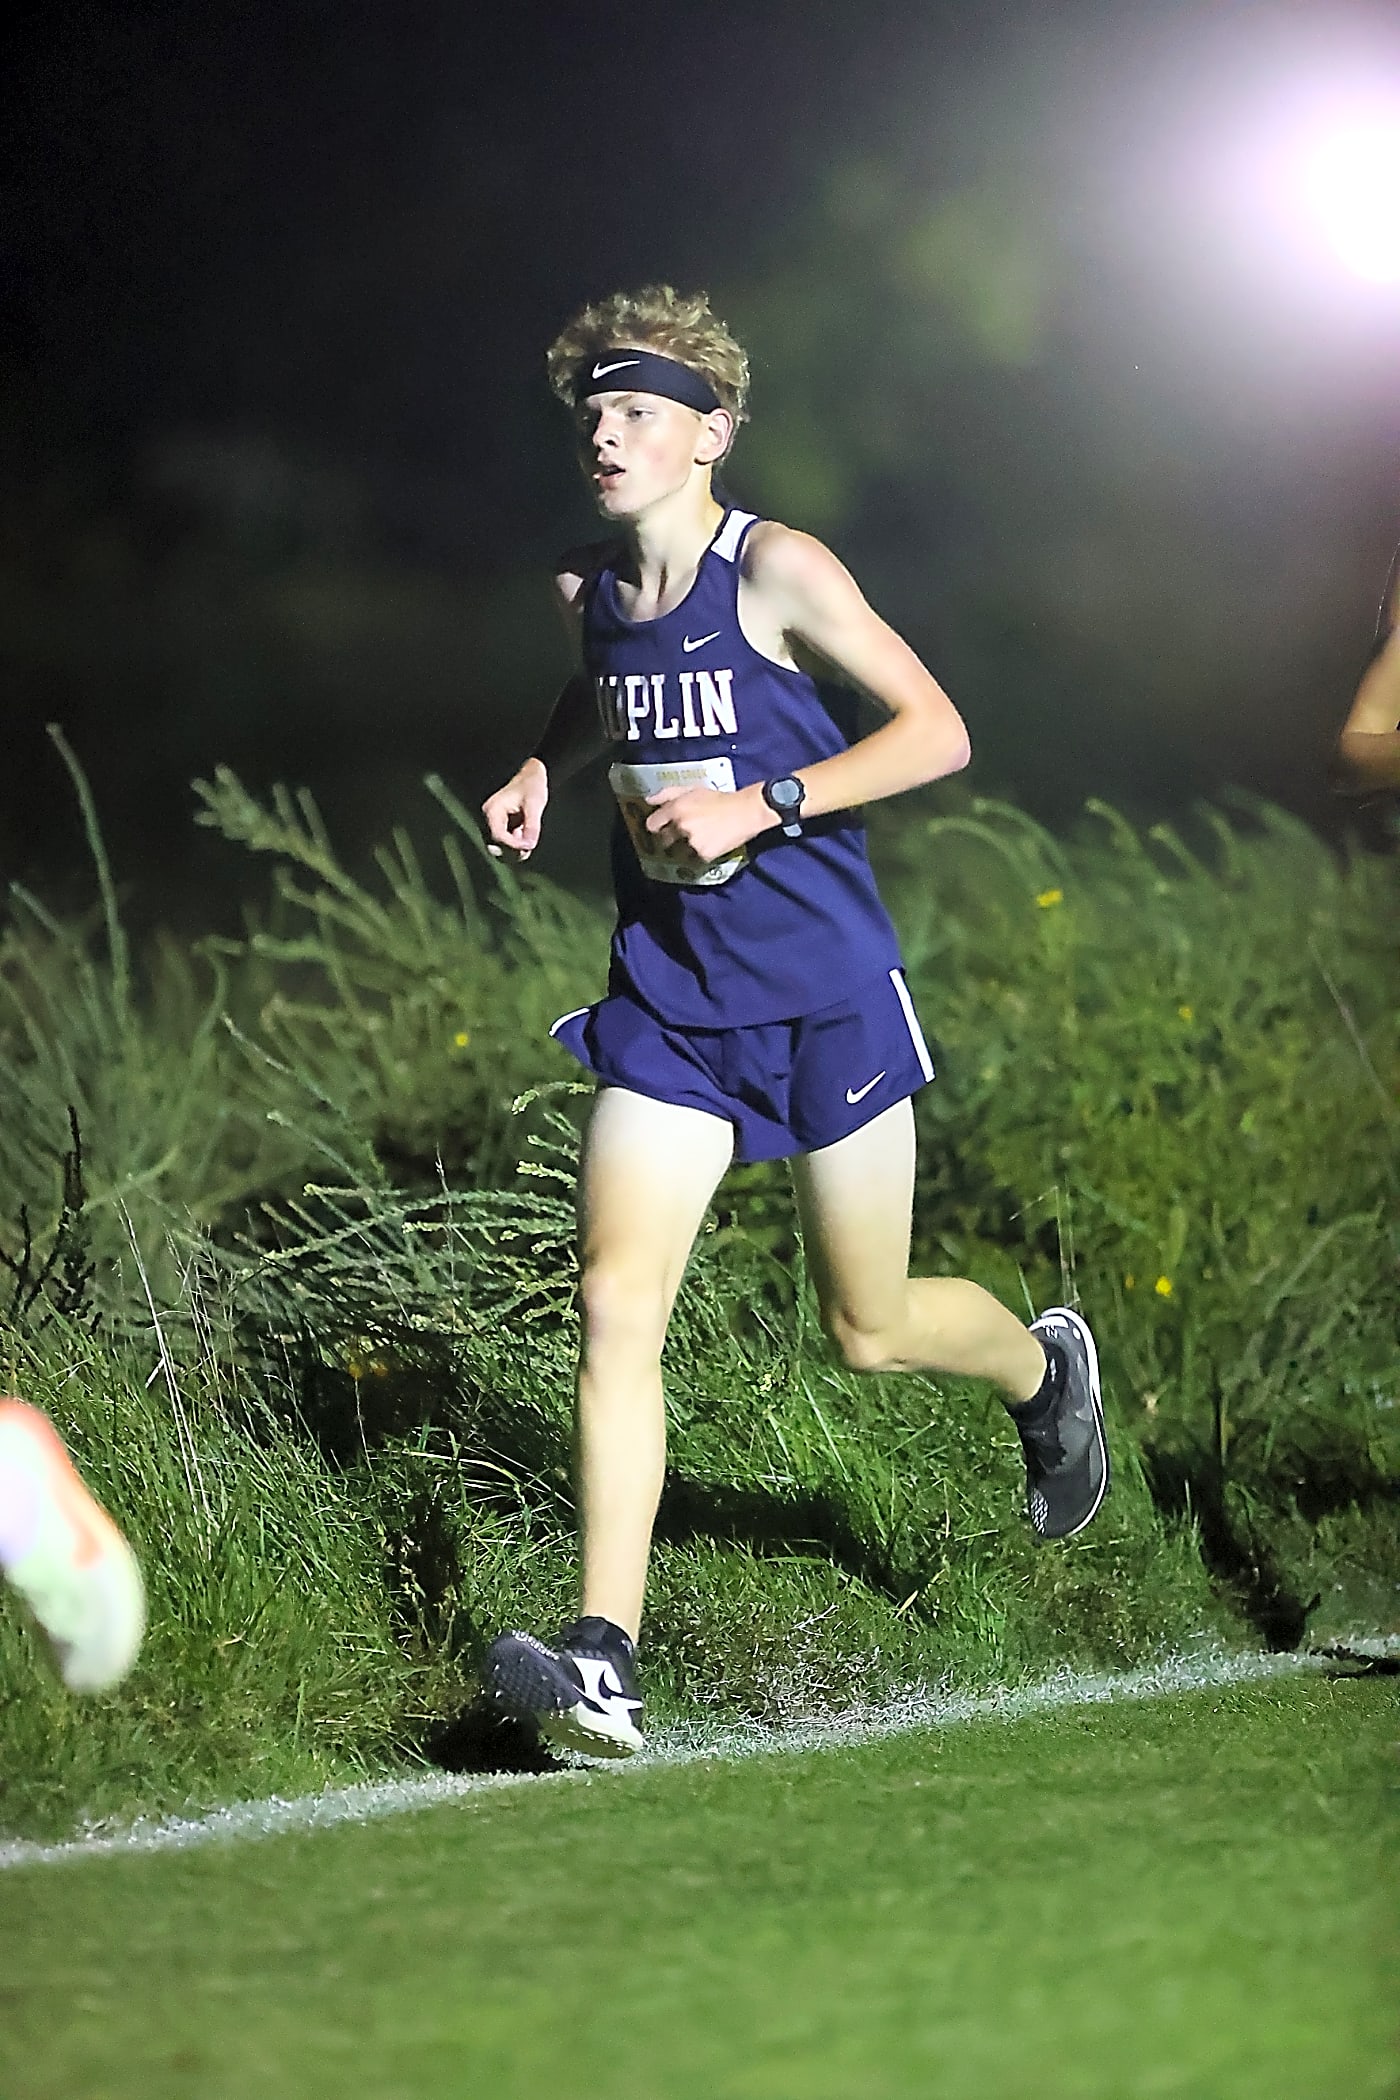
Full body - tight shots
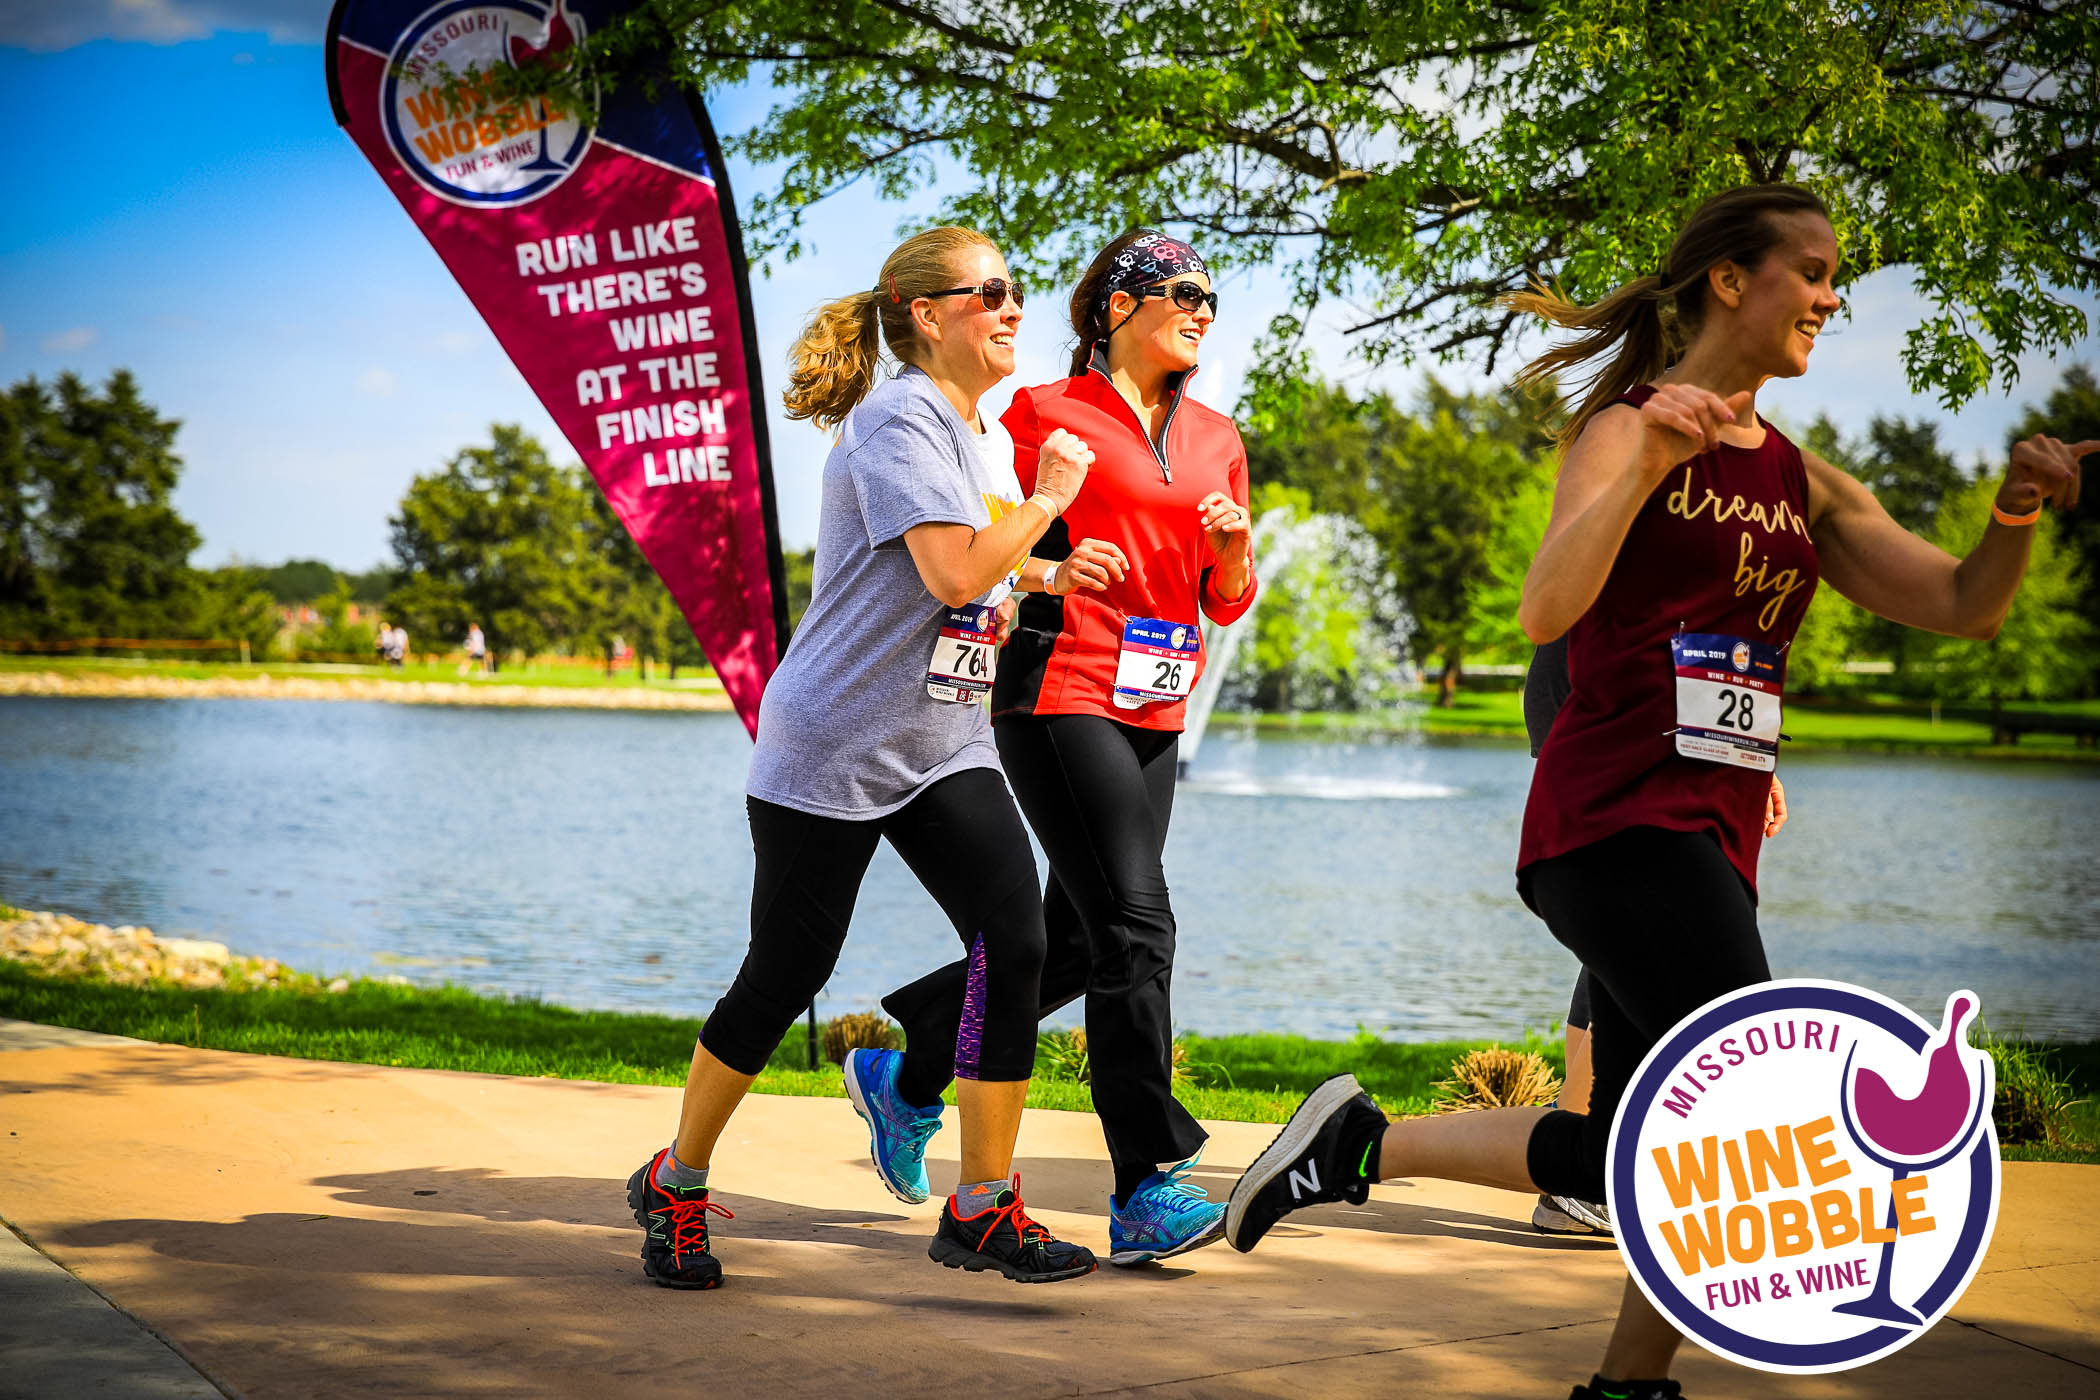
Full body, tight shots are our standard photograph for participants. We want to shoot tight enough to isolate the subject, but not too tight that we accidentally crop off parts of the runner. A general rule is, imagine the runner points upwards and out with both their arms, then their fingertips should touch the edge of your frame. These shots are ideal for isolating subjects in dense races, but also tend to have the highest download rates of all our running type photos.
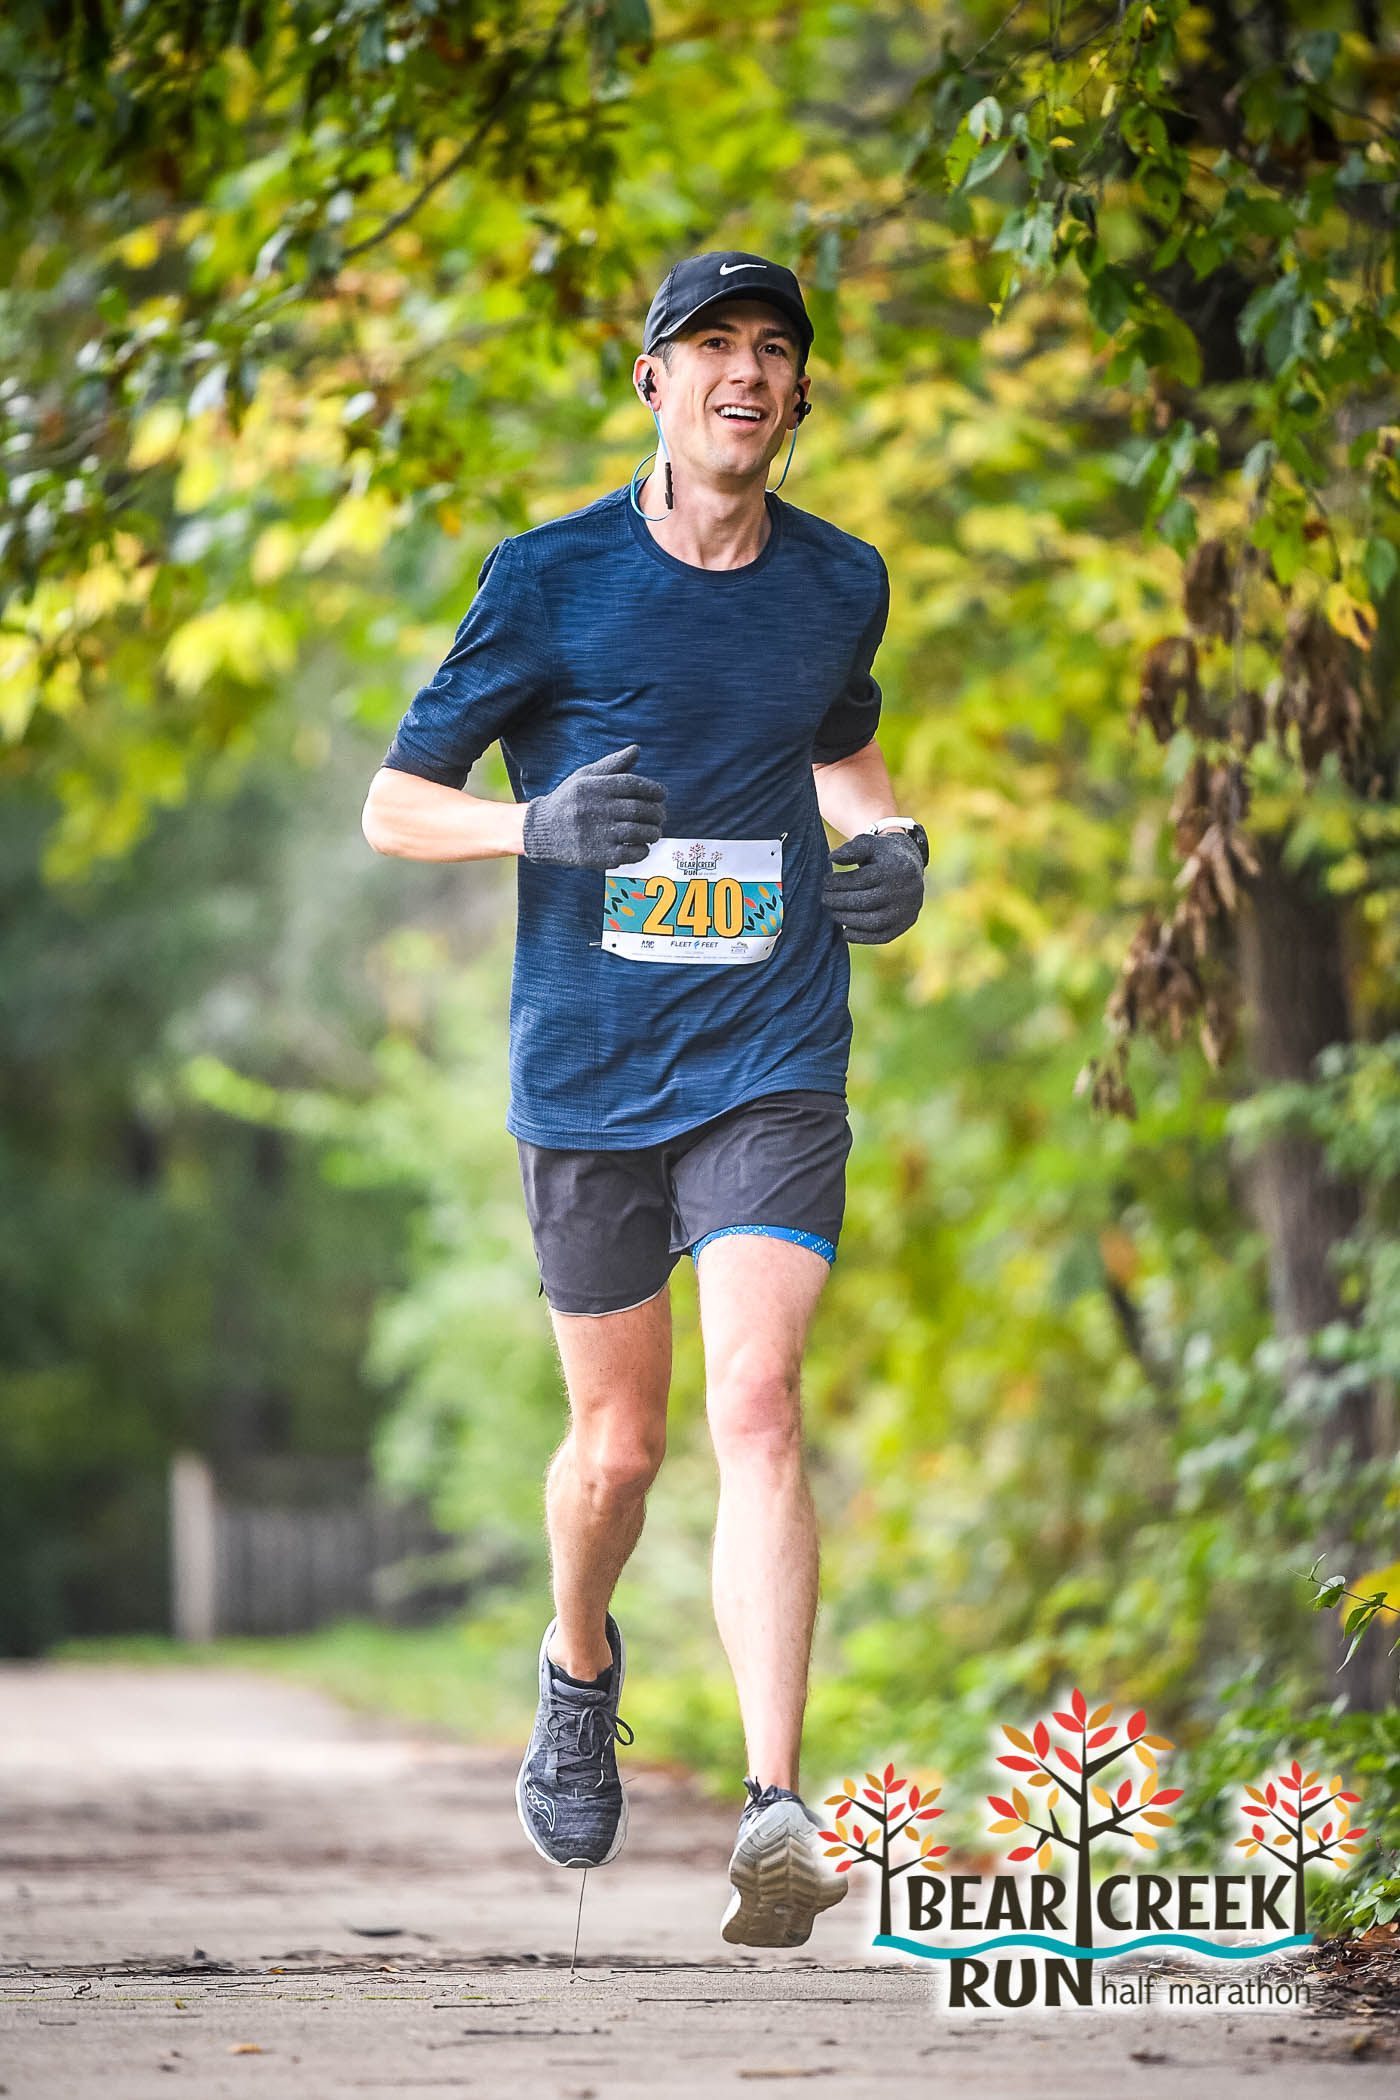
Full body - tight
The framing is tight enough to isolate the subject. Notice how the photograph is shot from a lower perspective to show more of the background.
Full body - tight
Subject is evenly framed in the shot . Framing is nice and tight. Notice how the photograph is shot from a higher perspective to show less of the crowded background.
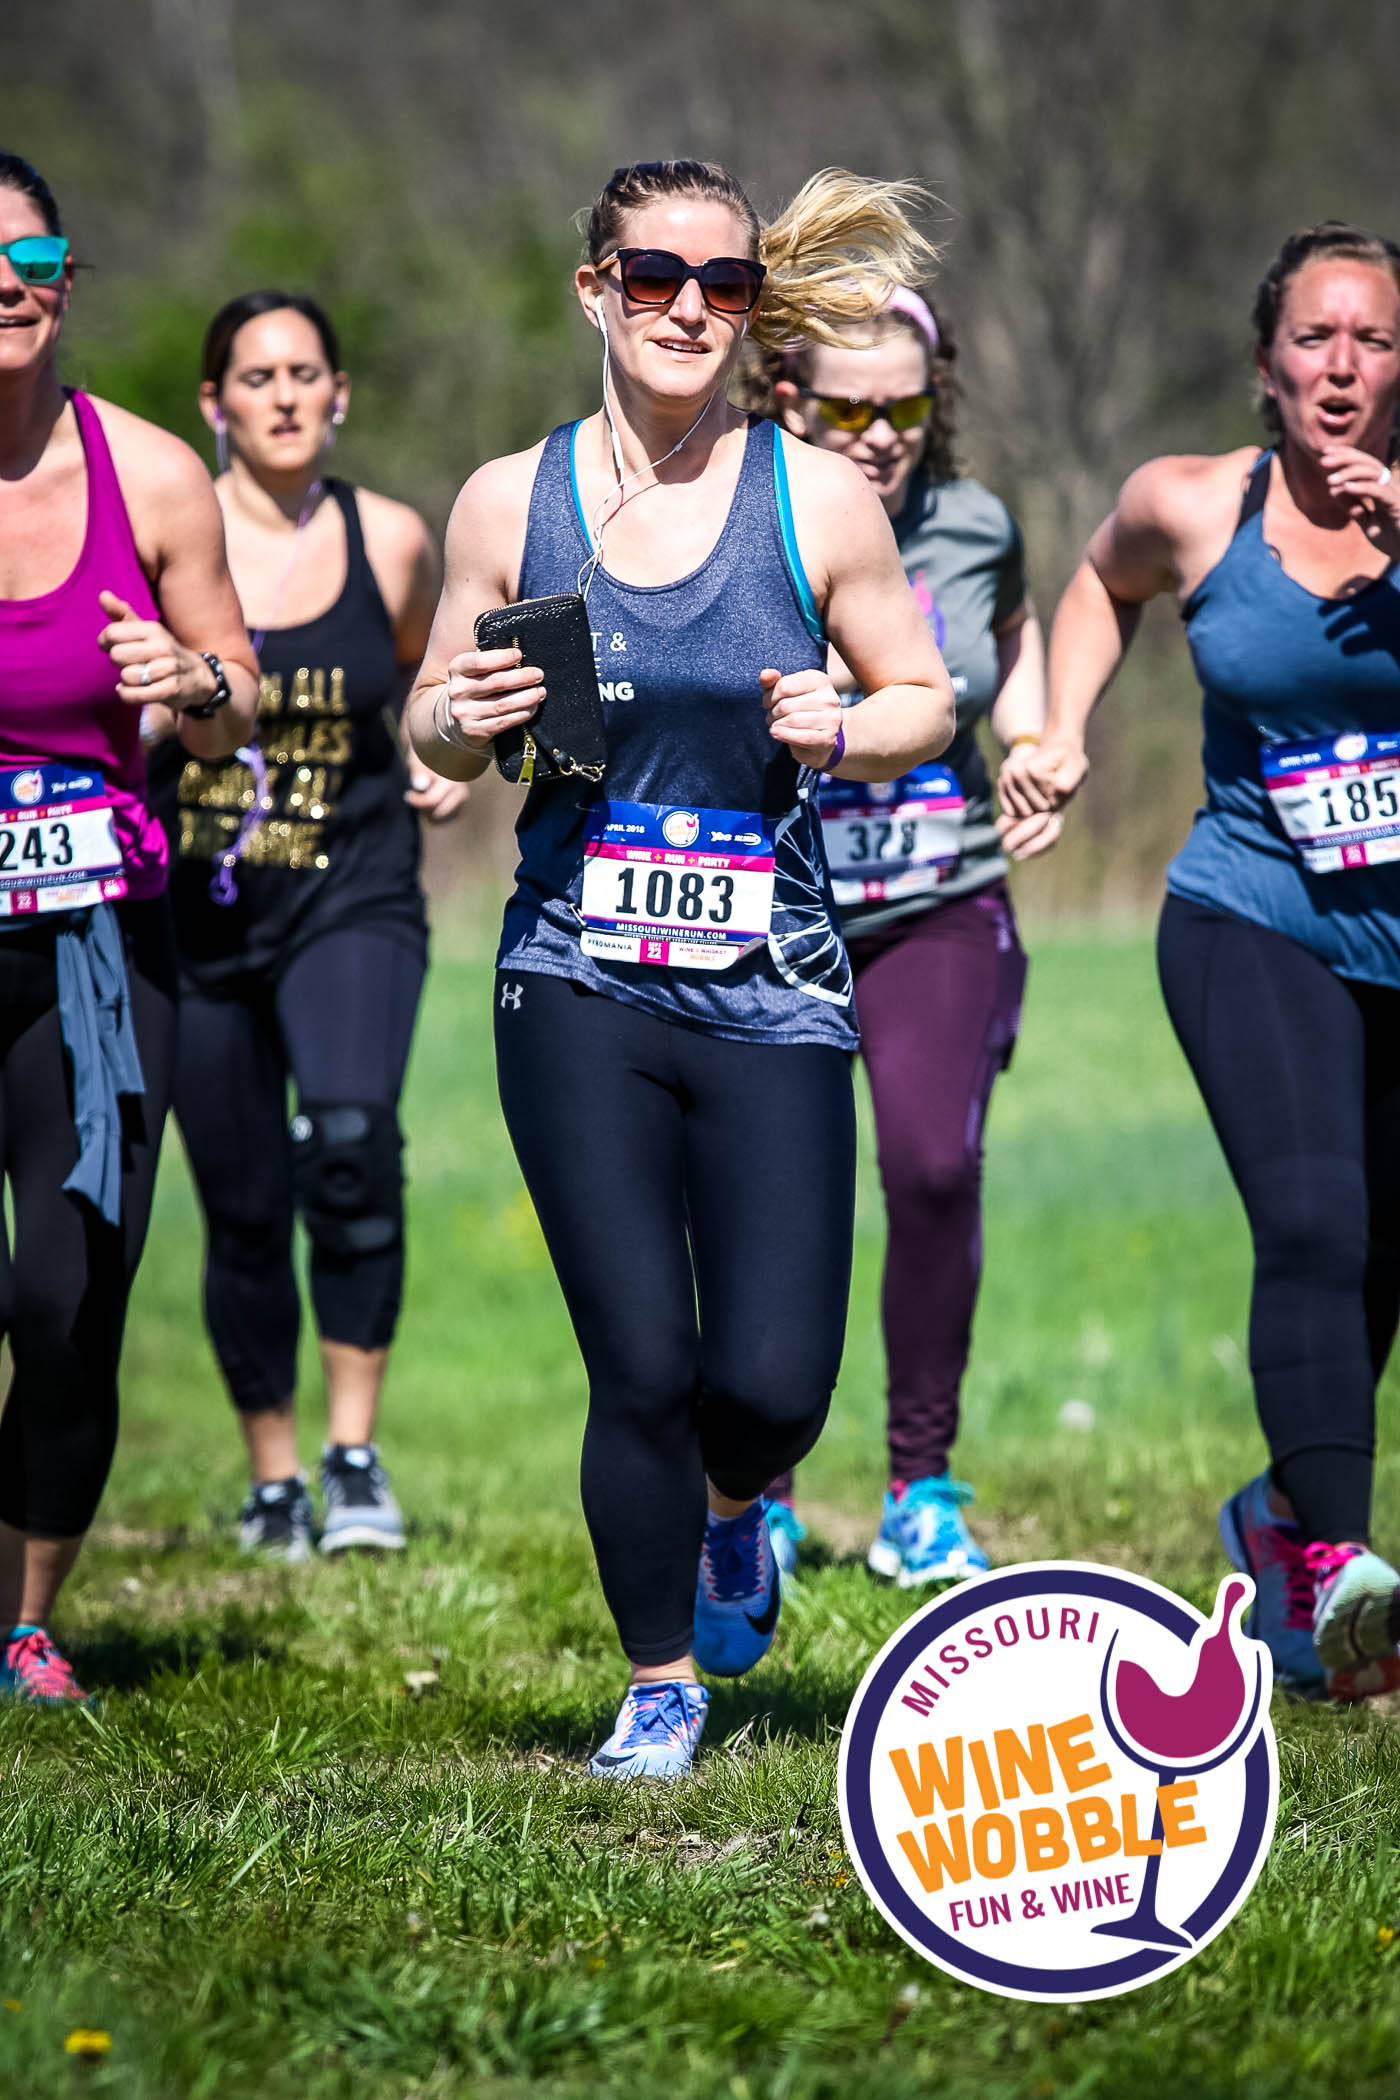
Full body - wide shots
Full body, wide shots are reserved for when the race isn't as densely packed, or the background really helps make the picture more interesting. It is very important your wider shots are still composed well, and not extraneously wide. If the participant is too small in the image, the image is not usable and will not likely be downloaded. Be careful when shooting these wider shots not to go too wide.
Full body - wide
Shot is wide enough to demonstrate this is an urban race, but the participant is still isolated because of the image compression. This is the widest you should be shooting, no wider. Only shoot this wide if the subject is isolated.
Full body - wide
Shot is wide enough to showcase the beauty of the course but subject is still isolated and large enough in the image to identify.
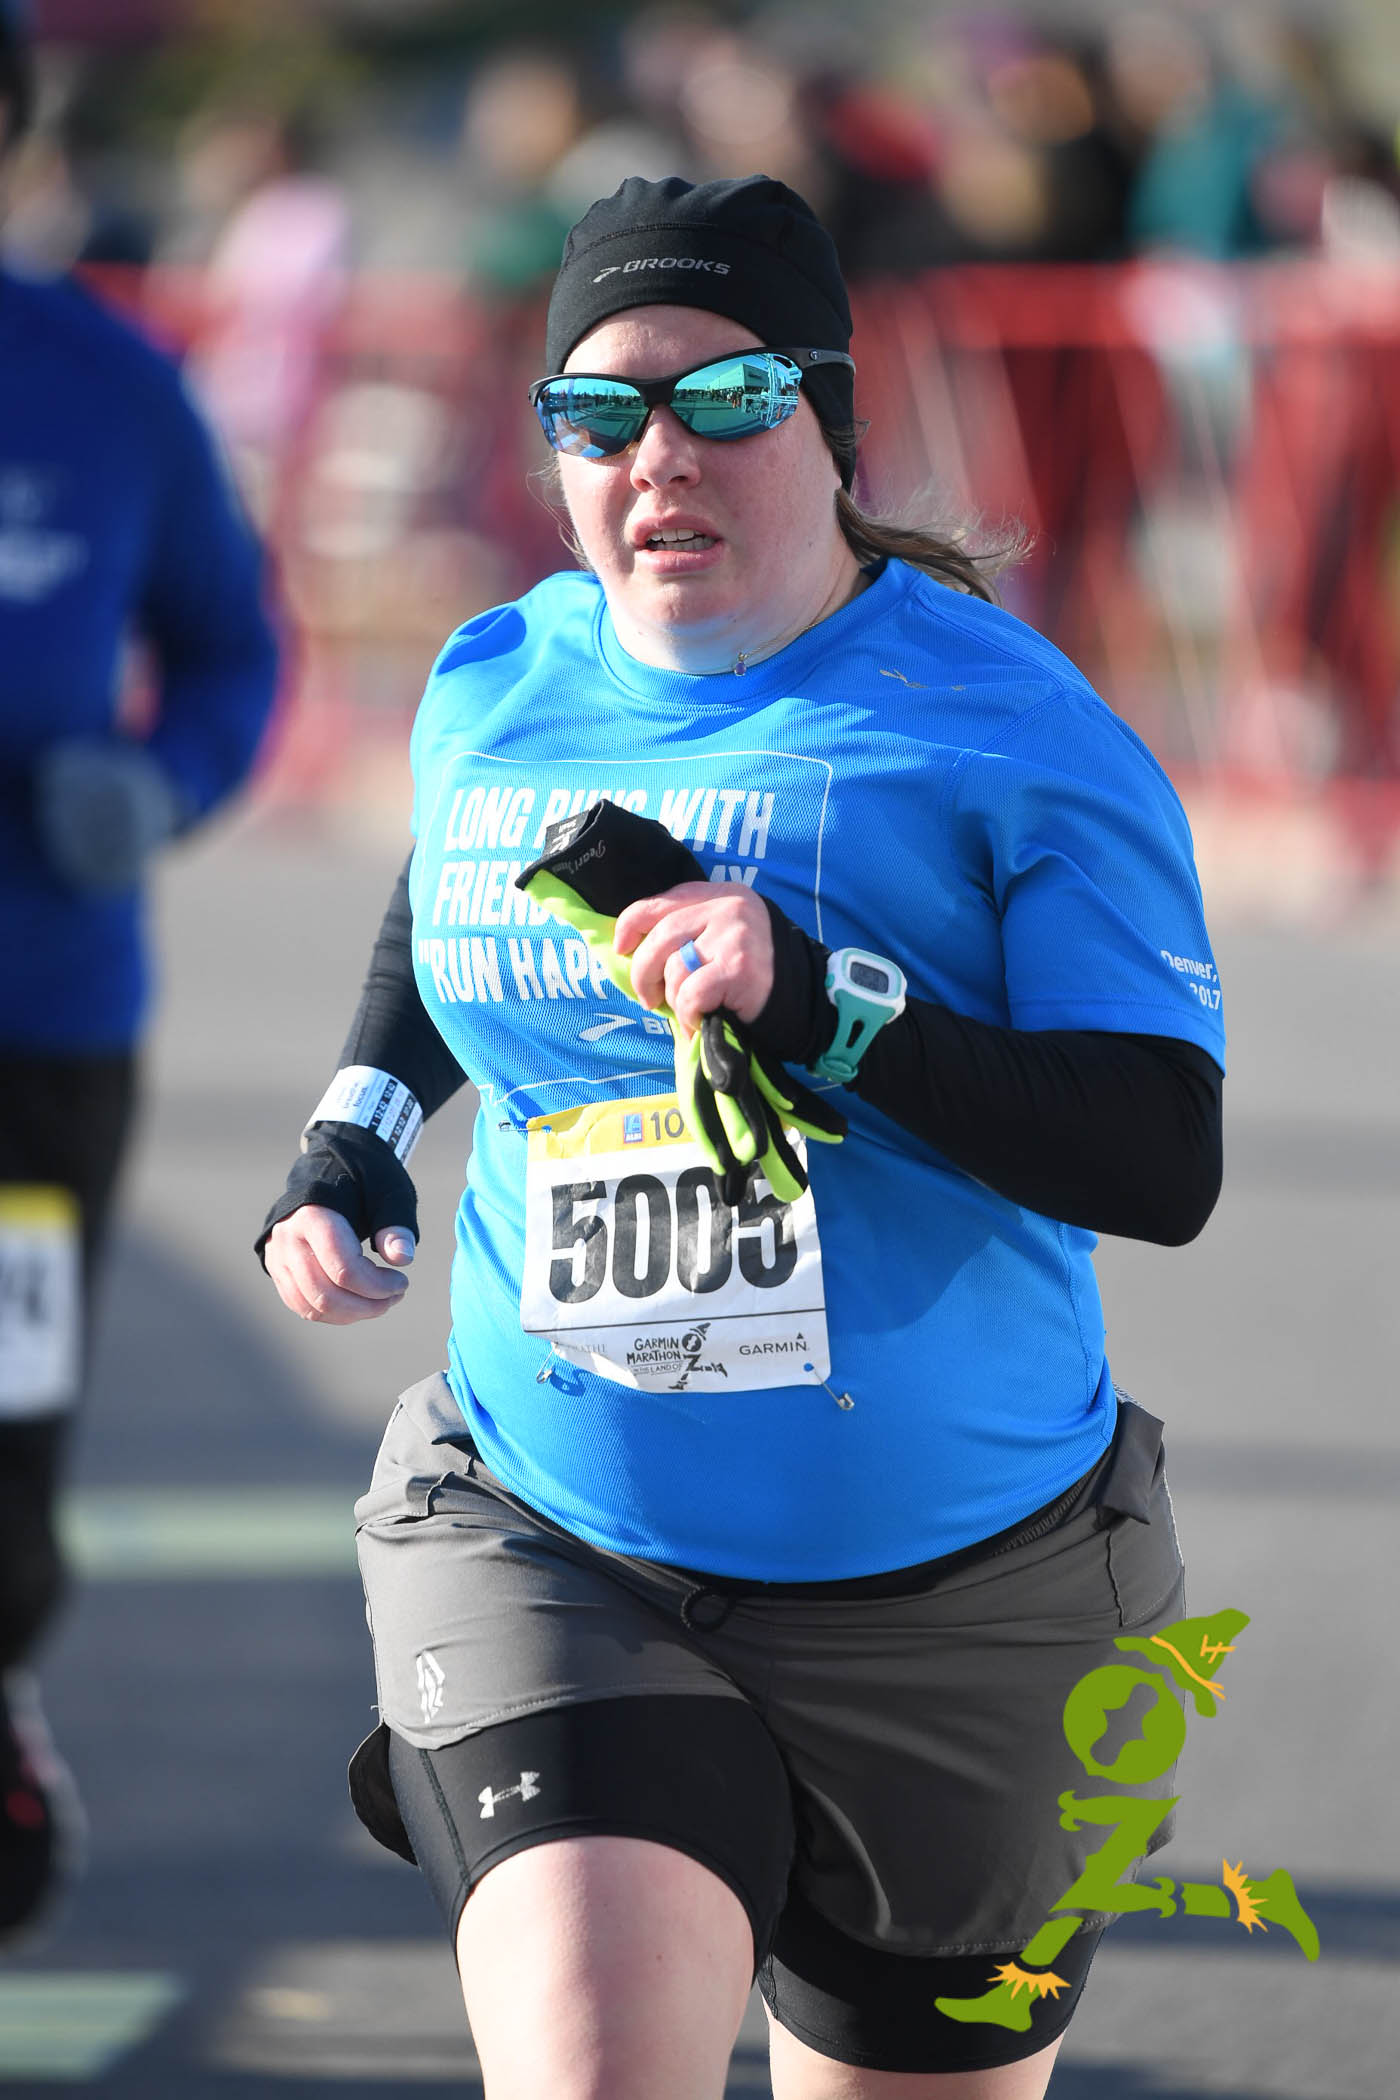
Upper body shots (standard)
Upper body shots are a bit harder to hit as they require precise timing not always afforded in busy races. If you can hit them, they offer great diversity to the album, providing more options to our event participants. It is important to maintain even padding in the image above the head and to each side of the runner. Make sure you are cropping the bottom edge of the frame mid-thigh. Crops at or below the knees are not acceptable unless the racer is mid-stride.
Upper body
This shot is tight enough around the participant, but not too tight. The shot is cropped mid thigh and the spacing around the runner is even on all sides. The compression from these tight shots makes a pretty background.
Upper body
This shot is pretty even around all sides, and the compression on this shot really helps isolate the runner in a dense race.
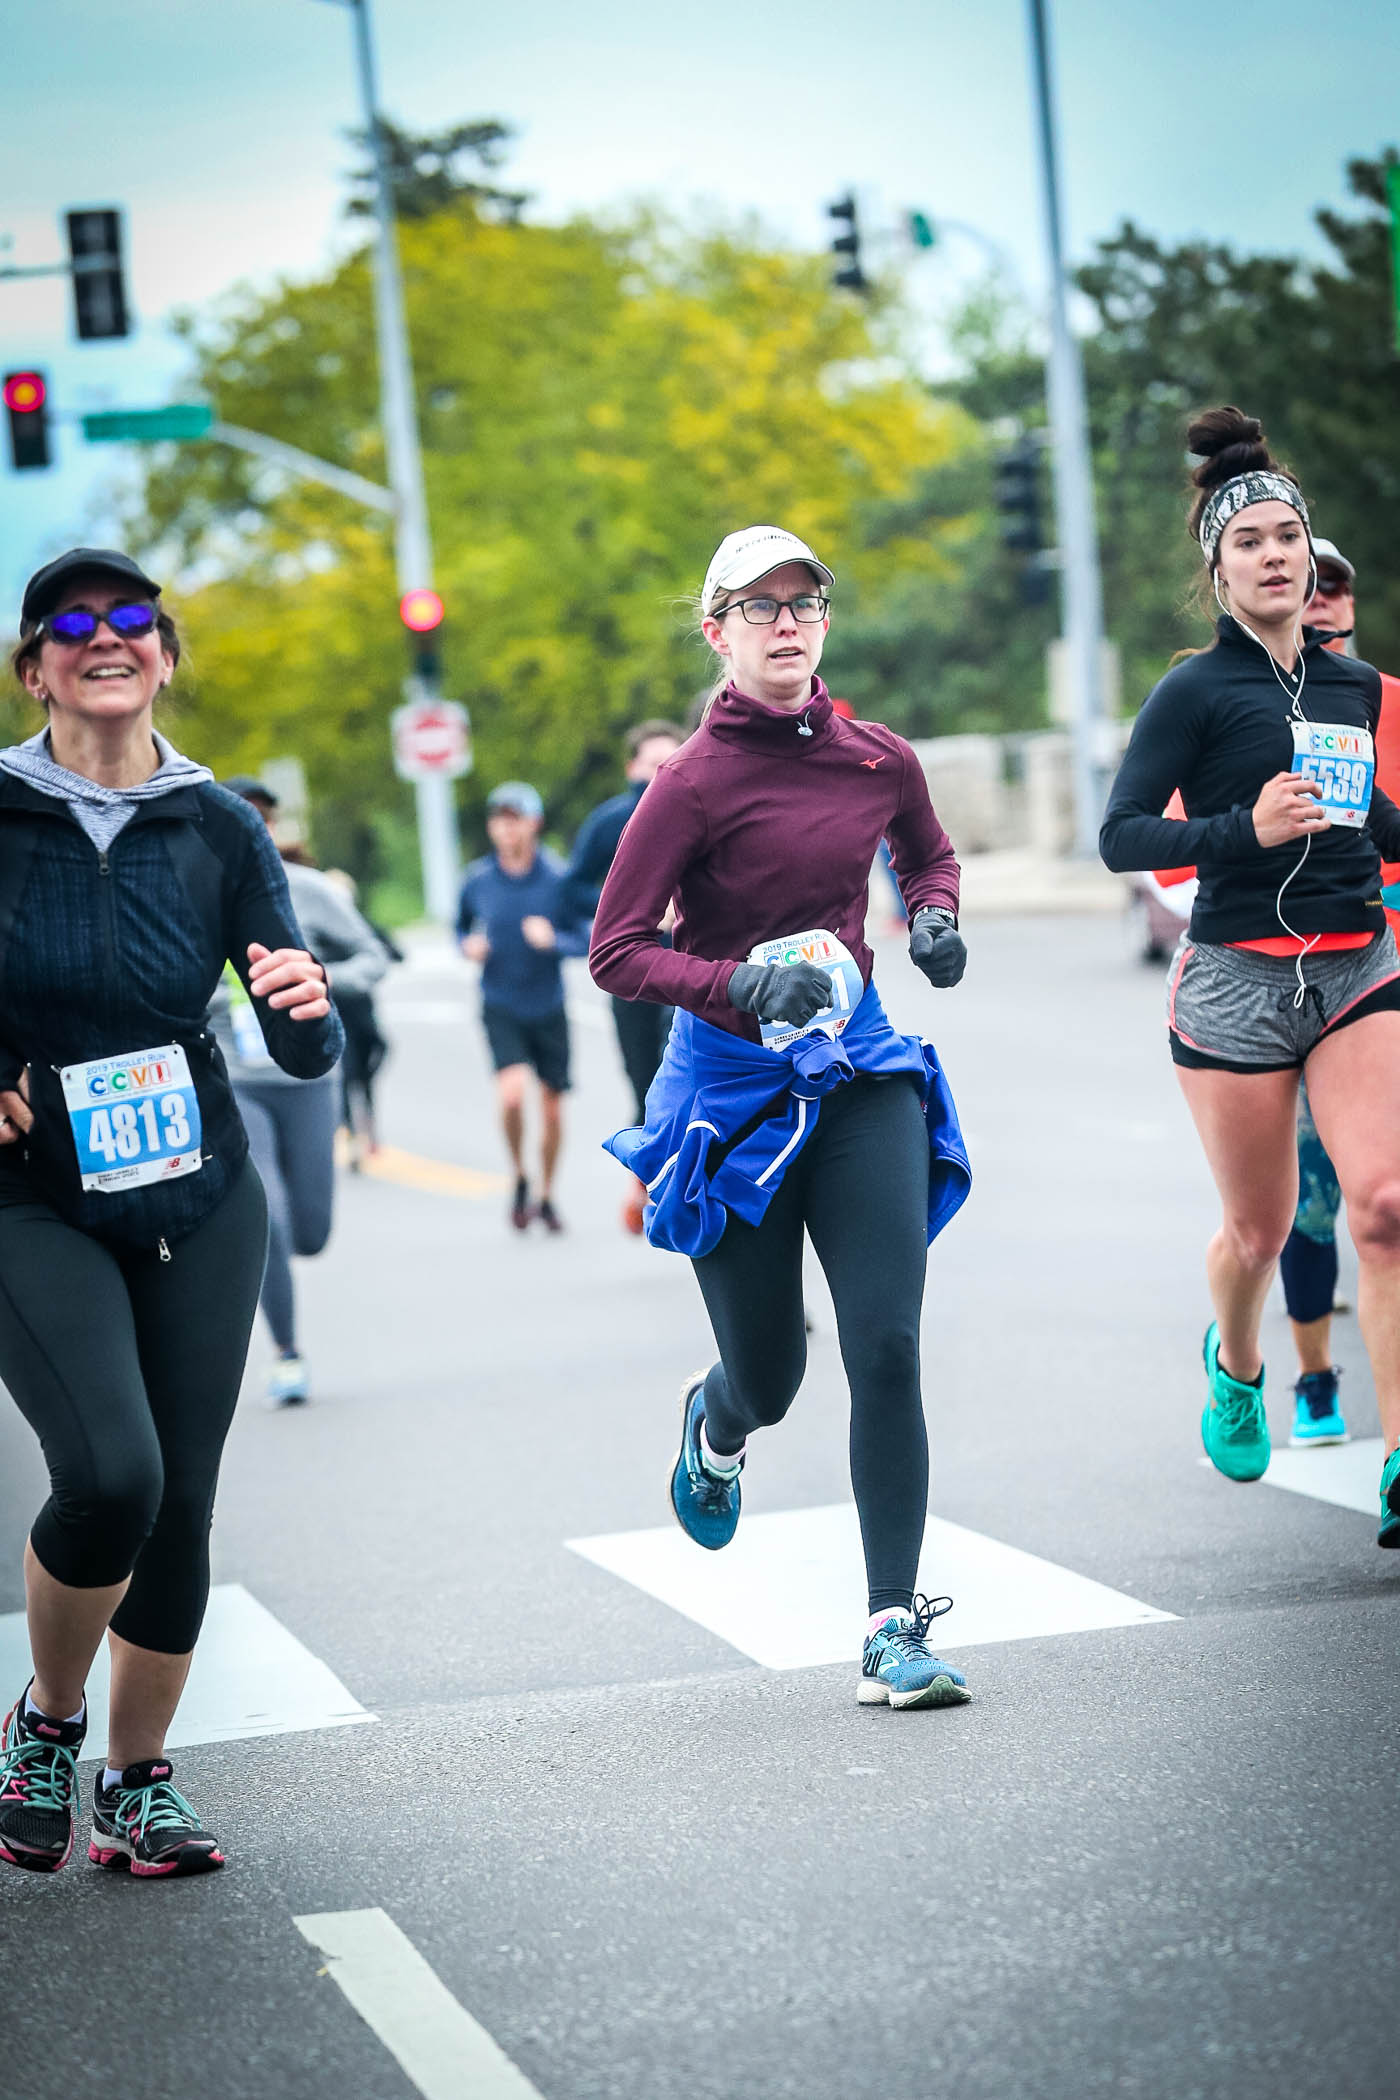
Upper body LANDSCAPE shots
Upper body landscape shots should only be taken if specifically assigned. Please do not shoot this style unless your team leader or coordinator assigns the shot to you. Upper body landscape shots are done by cropping the subject mid-thigh, and using the rule of thirds to frame your subject. This shot only works for events with spread out runners.

Upper body
This shot is tight enough around the participant, but not too tight. Padding around subject is comfortable, not too lose, but shows the environment. The shot is cropped mid-thigh and the rule of thirds is applied.
Upper body
This shot is tight enough around the participant, but not too tight. Padding around subject is comfortable, not too lose, but shows the environment. The shot is cropped mid-thigh and the rule of thirds is applied.
Watch our for:
- Over cropping. Framing too tight can result in accidentally cutting off parts of the runner's head or arms or feet. Also, an image framed too tight has poor download statistics or is even unusable.
- Not leveling your horizons. This one should be easy, but it is also easy to forget. Make sure you are leveling your horizons. Trees grow upward, and buildings are perpendicular to ground.
- Shooting too wide. This cannot be stressed enough, so we'll mention it again. Make sure to slow down and frame your shots tight enough.
- Too low of shutter speeds. Crank that ISO! We can fix noise but not blurry images. Here is an image shot at 100,000 ISO. Is the image noisy? Yes. Is it properly exposed and usable? Also yes. Images from the event in the linked image that were shot at 50,000 ISO and above were downloaded almost as frequently as images shot in reasonable light from the rest of the day. A sharp noisy image is always better than a soft, blurry image, or no image at all.
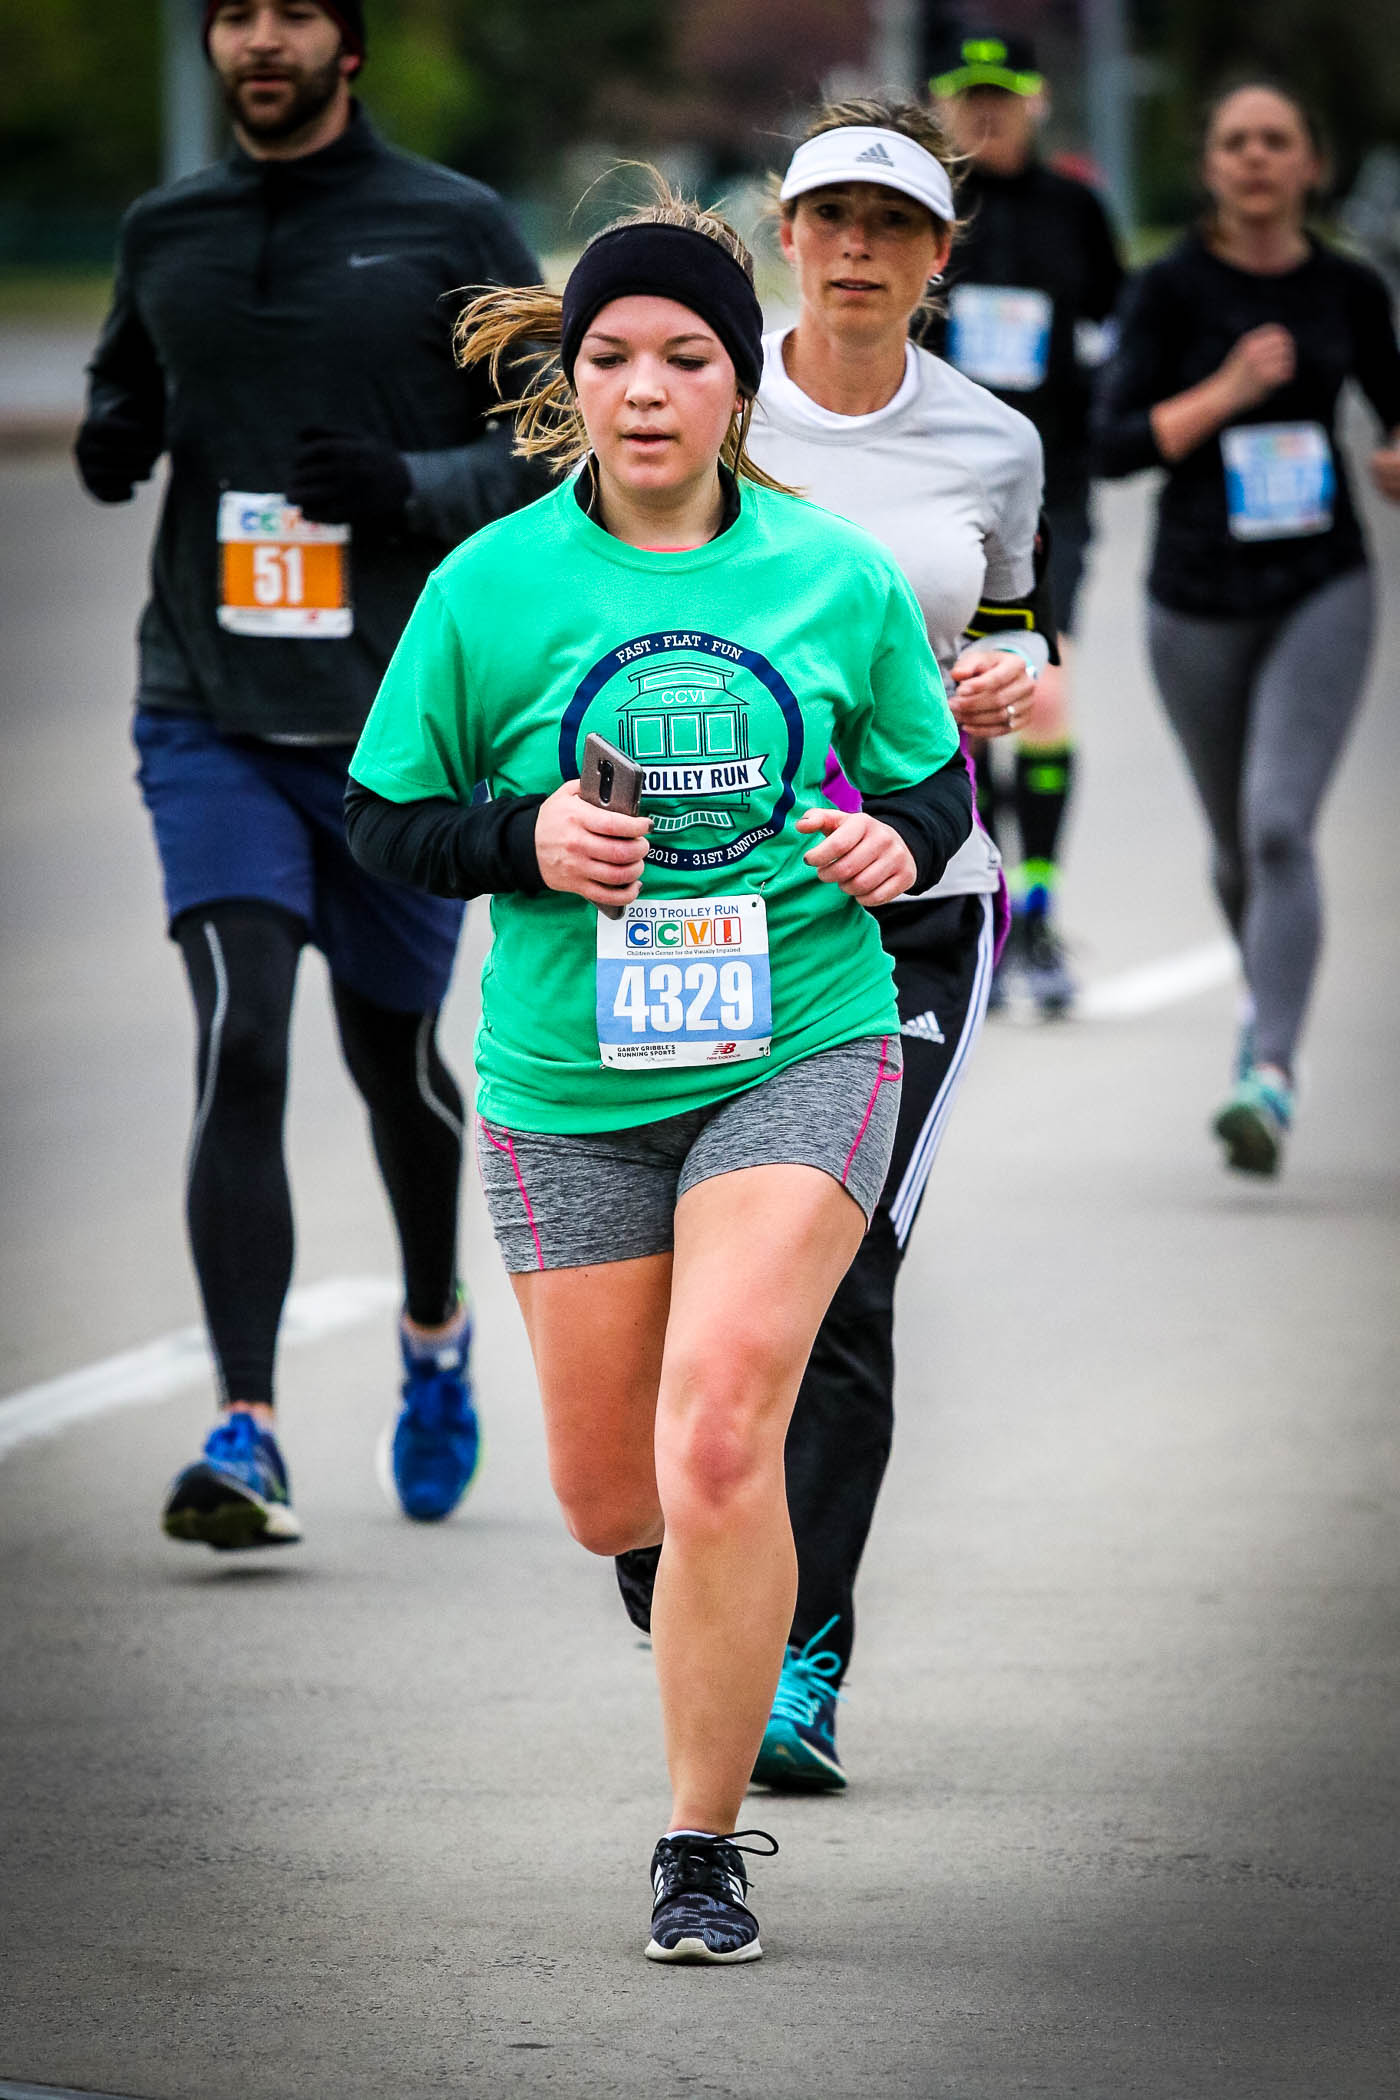
Group shots
Unless you are assigned group shots, you must shoot shots of individual participants only. You should isolate your subjects in your shot, and frame tightly to ensure a clear subject in each image.
When it is appropriate to shoot group shots:
- When you are assigned to take group shots.
- When a group of participants is clearly part of a group, such as in costume or holding hands.
- When a group of participants asks for a group photo.
When it is NOT appropriate to take group shots:
- When participants are clumped together tightly.
- When shots are candid.
- Any other time it is not assigned or part of the approved group shot items.
During dense races, it is tempting to take wider shots of participants, resulting in group exposures. This is not okay. You should slow down, isolate your subject, and get clear shots of an individual subject. It is okay to miss a significant portion of runners in order to get fewer but higher quality shots. Especially at the start of a race, participants will be very densely packed. You should slow down, and isolate your subjects. If you do not, the photos will be marked for deletion.
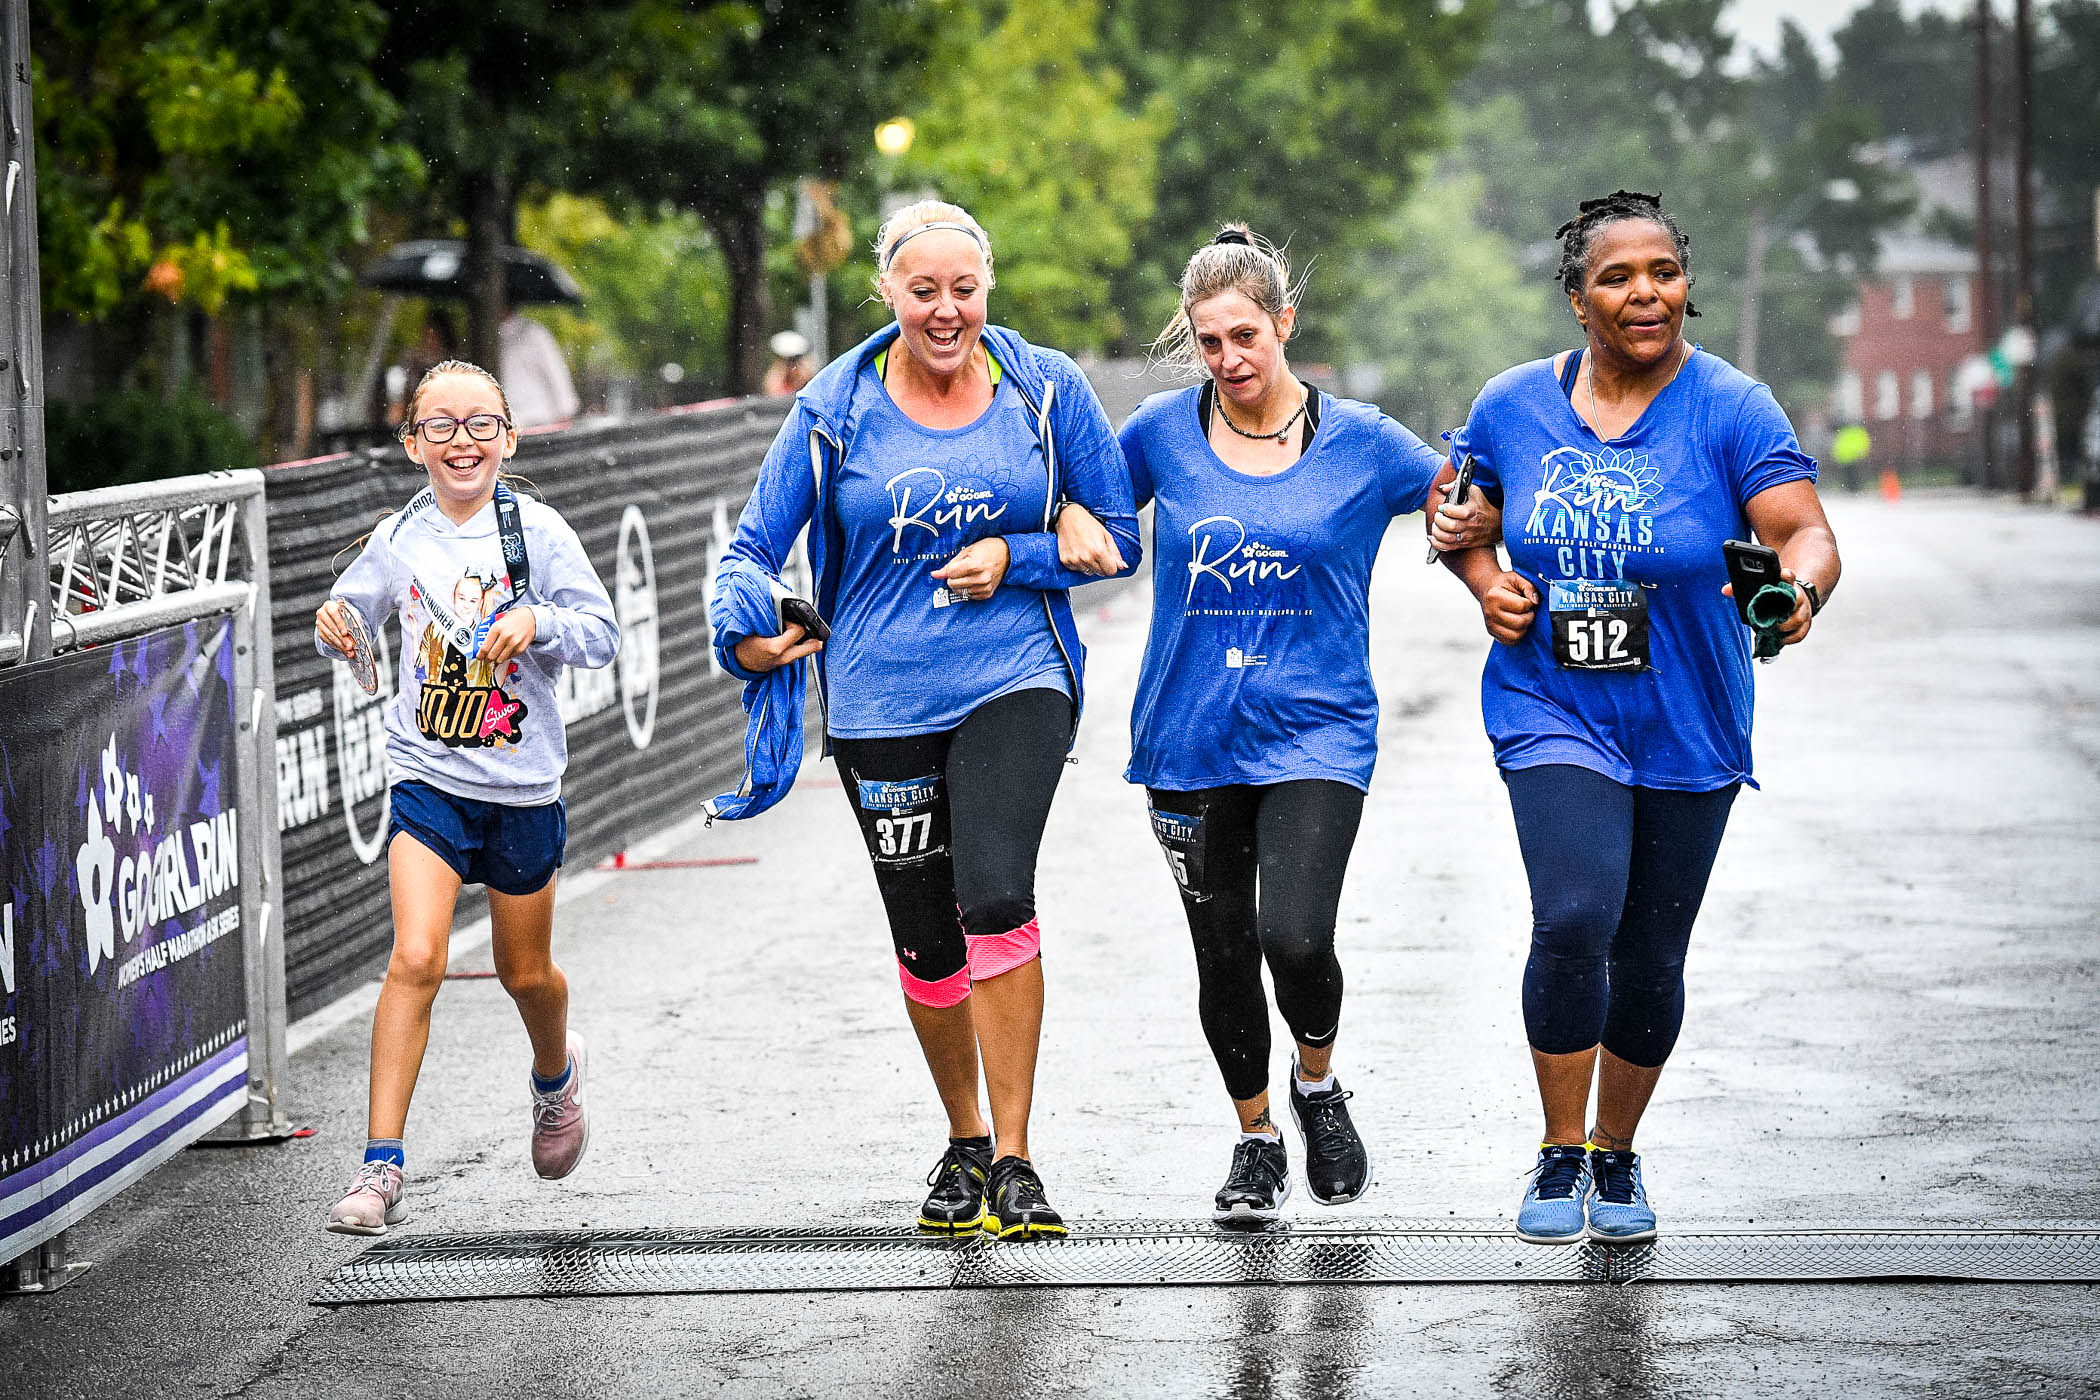
Proper group shot
Participants are holding hands and clearly associated with the same group. Only take a group shot if you have time to rotate your camera and appropriately frame and capture runners. After a group shot, you should try to capture individual shots.
Improper group shot
While the runners are in a group and the shot captures that, the runners are not aware of the group shot, and subject isolation is not ideal.
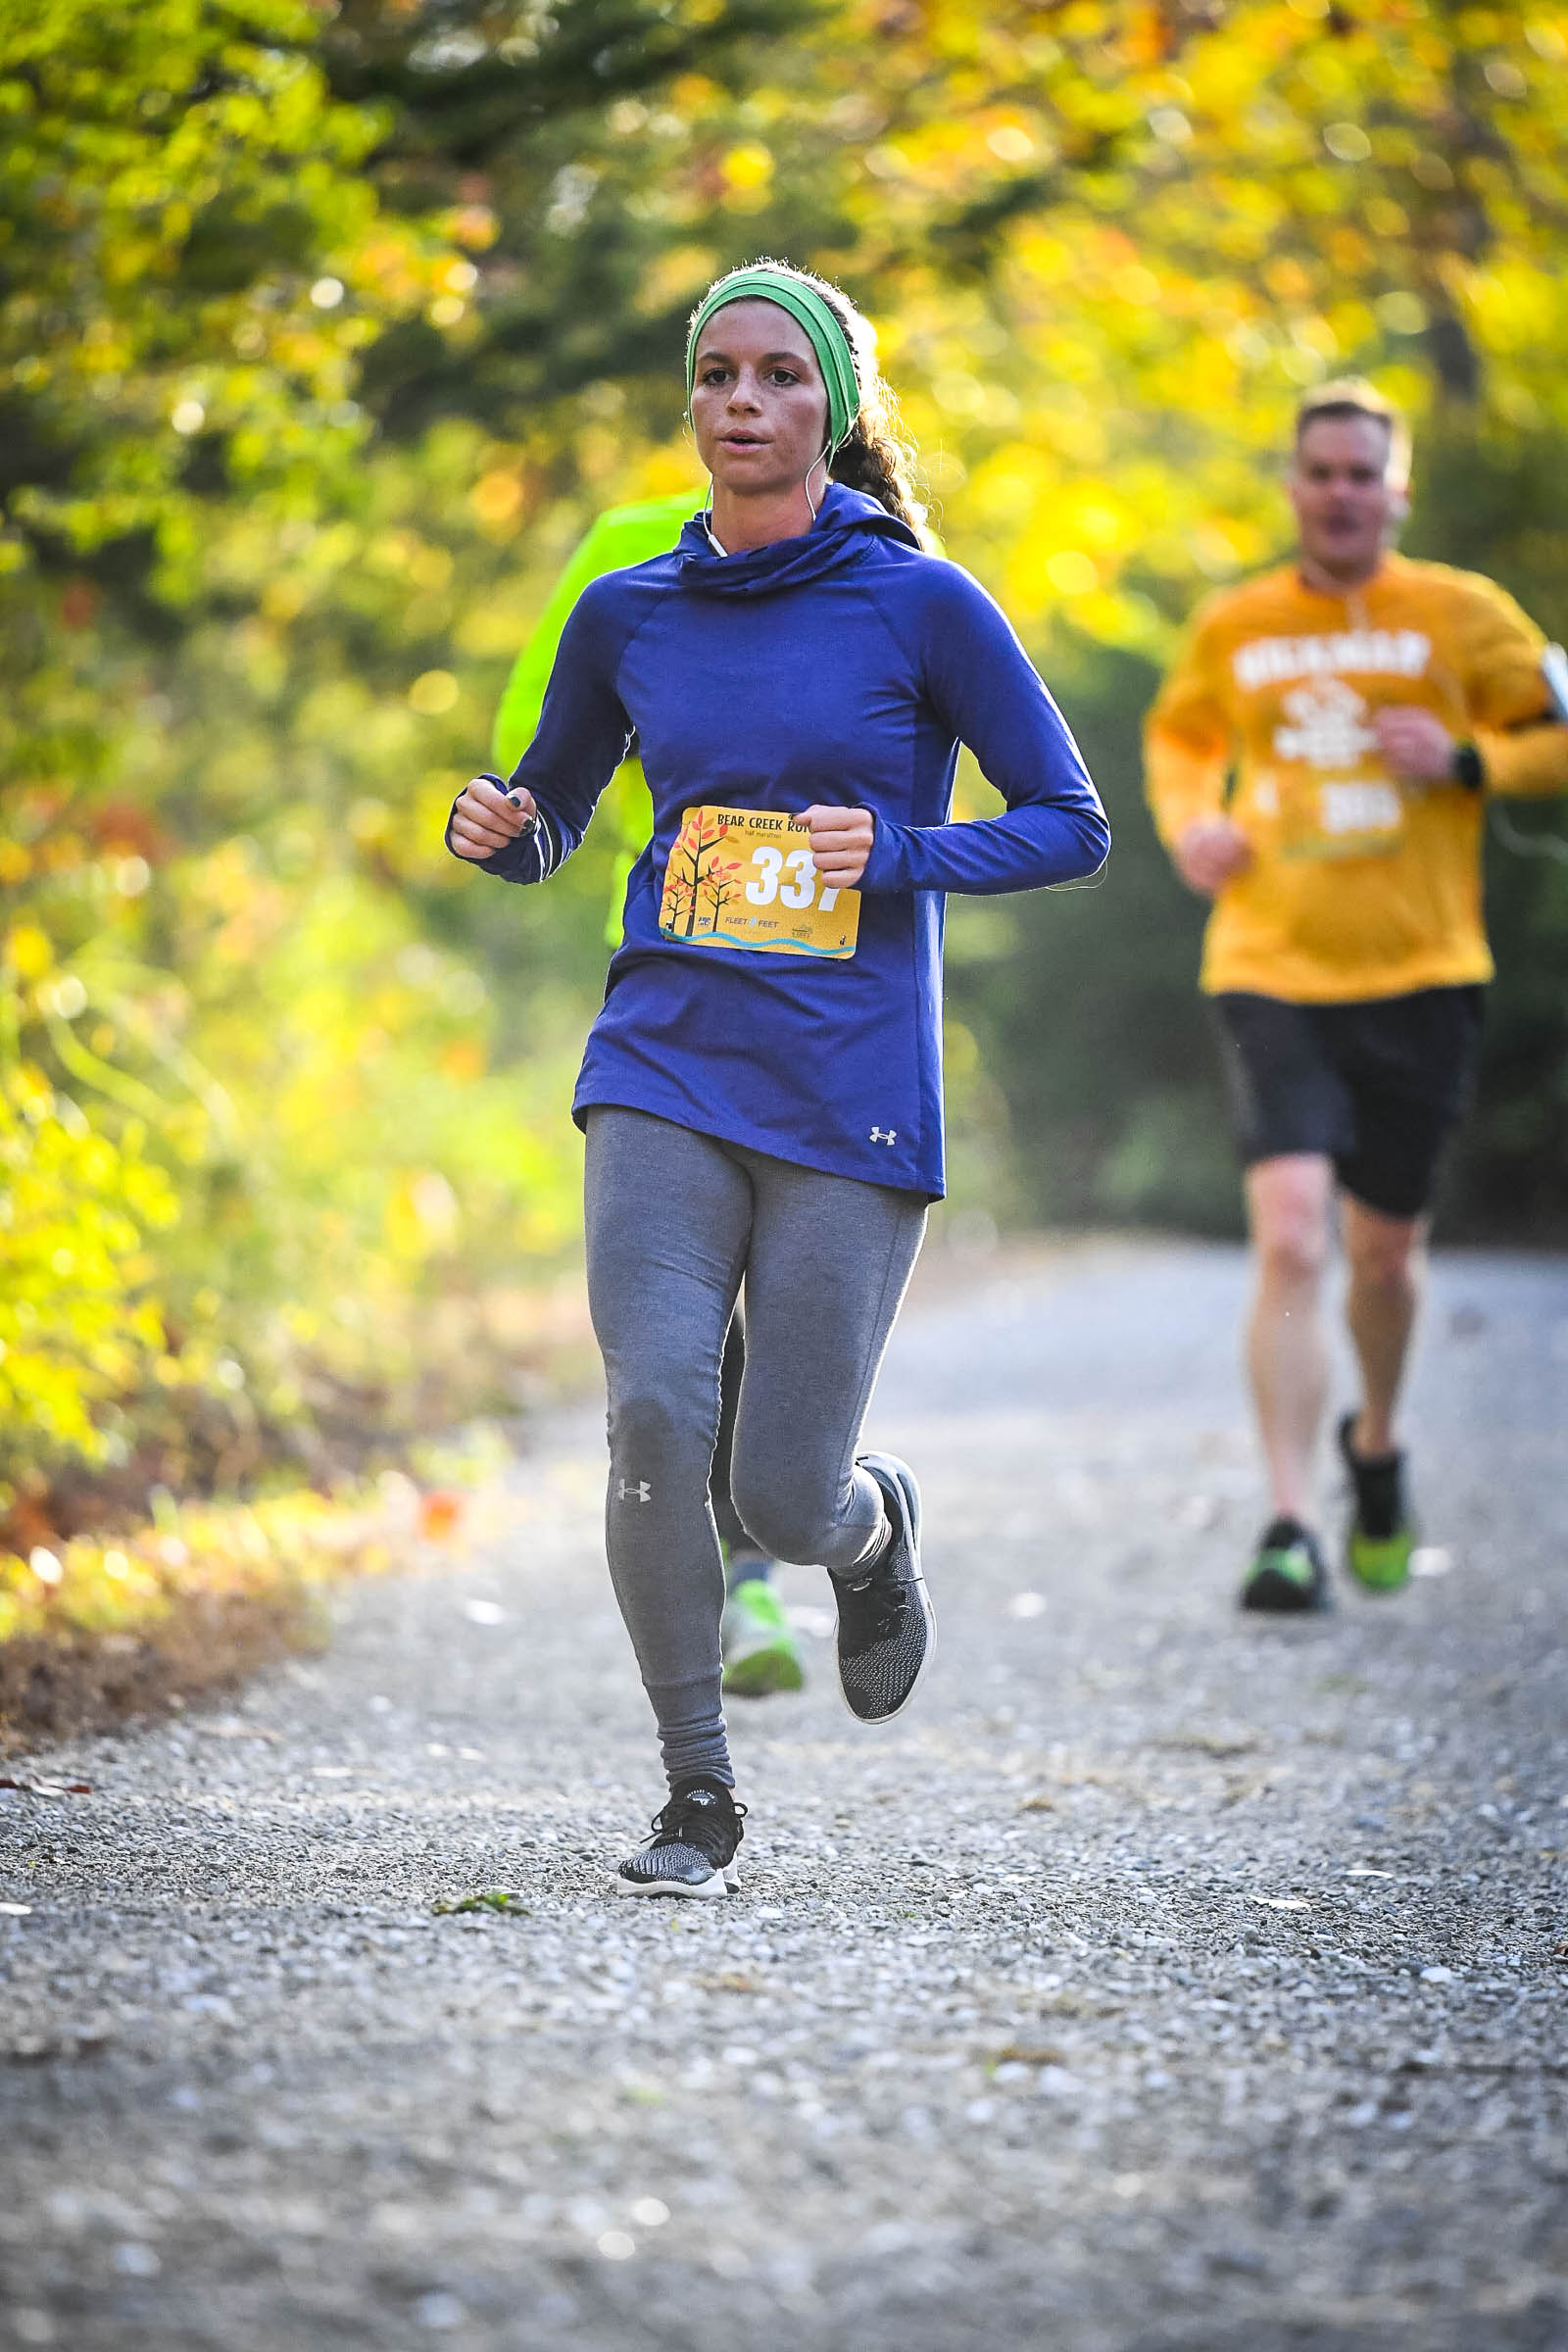
Proper isolation of runners in groups is critical. If runners are not properly isolated, the photo is 6x less likely to be downloaded by the participant.
Proper isolation in a group
Participant is in a runner clump, however, the runner is properly isolated in the image because of tight and level framing.
Improper isolation in group
Participant is not properly isolated from the rest of their group. Other runners are in focus, where tighter framing would have compressed the image more and resulted in greater isolation.
Be prepared for...
Be prepared for everything! You should have multiple cameras and lenses. Many sets of batteries, and back up memory cards. We are professionals, not hobbyist, so have redundancies in place to make sure you keep shooting if you battery dies or your camera stops working throughout the day. You should also have plenty of water and snacks throughout the day.
We don't want our photographers to shoot in unsafe conditions, and we expect you to take appropriate safety precautions in the event of storms. While lightning is dangerous, and you should seek shelter, rain is in most cases safe, and we expect you to be prepared to shoot in rain, except dangerous rain conditions, snow and what ever else is safe.
You and your gear will stay as clean as your prepare for. If you know your gear, and know its limits and don't mind it getting a little bit dirty or wet, then just show up and shoot. If you want your gear to stay spotless, then bring protective equipment for your gear. We will not replace anything you break, so shoot however you feel is best for your gear. Most of our photographers know their gear is durable and don't bother covering it for events. However, you are welcome to cover your gear as much as you prefer. Just make sure you keep your front lens element clean and bring plenty of wipes for it.
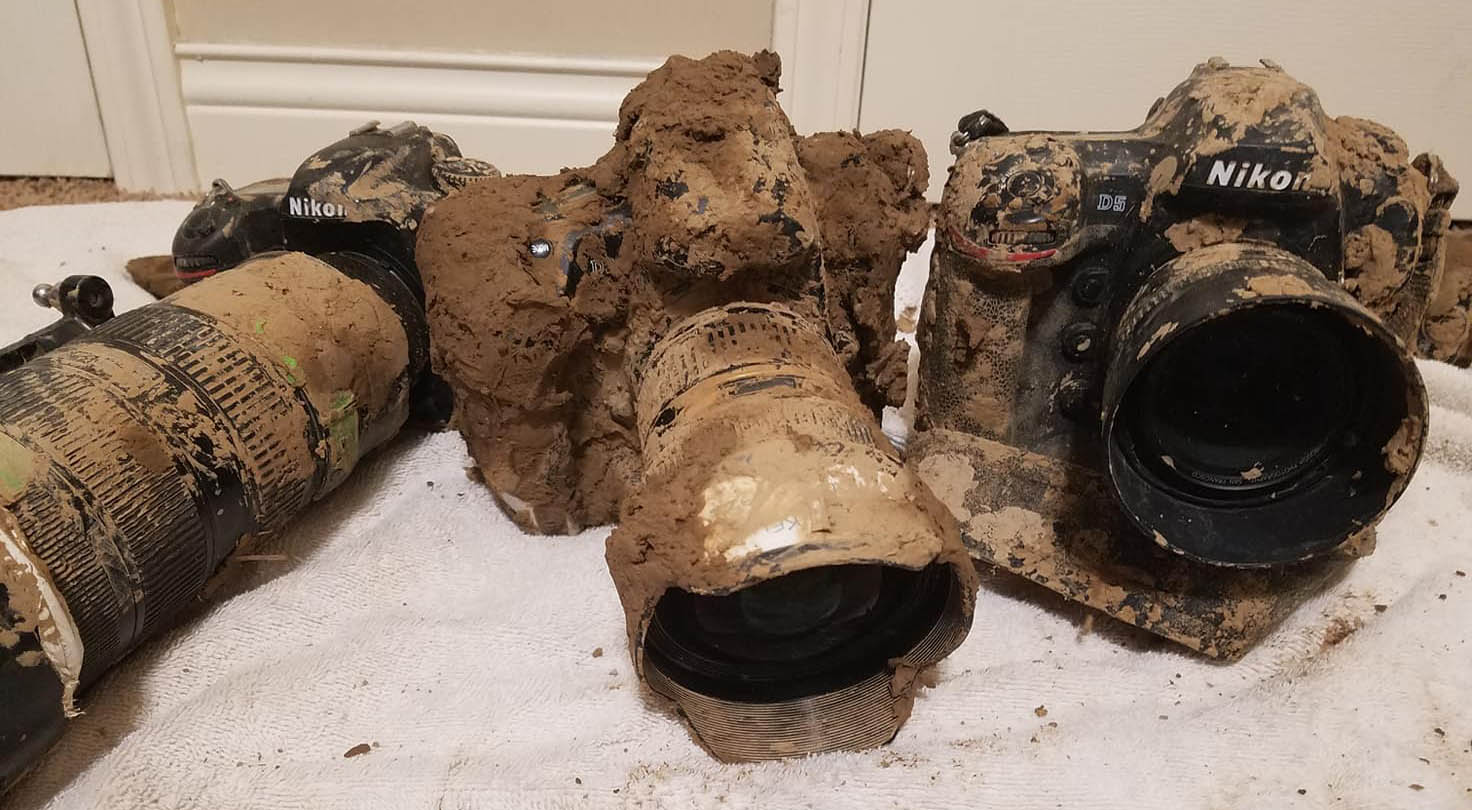 Complete fine, slightly dirty cameras.
More tips
- We spend a good time trying to provide valuable feedback to our photographers in our post event emails after reviewing their images. We want to see our team reach their highest potential, so we hope you will consider the feedback you receive. We try to let you know what you did well with and what could be improved for the next event. We hope you use this feedback to both improve your own photography and the product we deliver to race participants.
- Be familiar with the event. Knowing when and where to expect runners really helps. Taking 4 minutes to look on Google Maps where you will be shooting prior to the day starting can mean less time wandering around the day of the event trying to find your location.
- Check your shots often. Don't shoot an entire event without checking your shots. Everyone makes mistakes, and it is important to find them early on. Check your framing, exposure, histogram and sharpness every once in a while. There is no excuse for shooting half an event with soft images or blown out subjects. Mistakes happen, and you won't get every shot perfect, but identifying problems early on is crucial.
- Have fun and enjoy the event! Hopefully you are participating in these events because you enjoy them, so try to get some free food and maybe covered in a bit of mud.